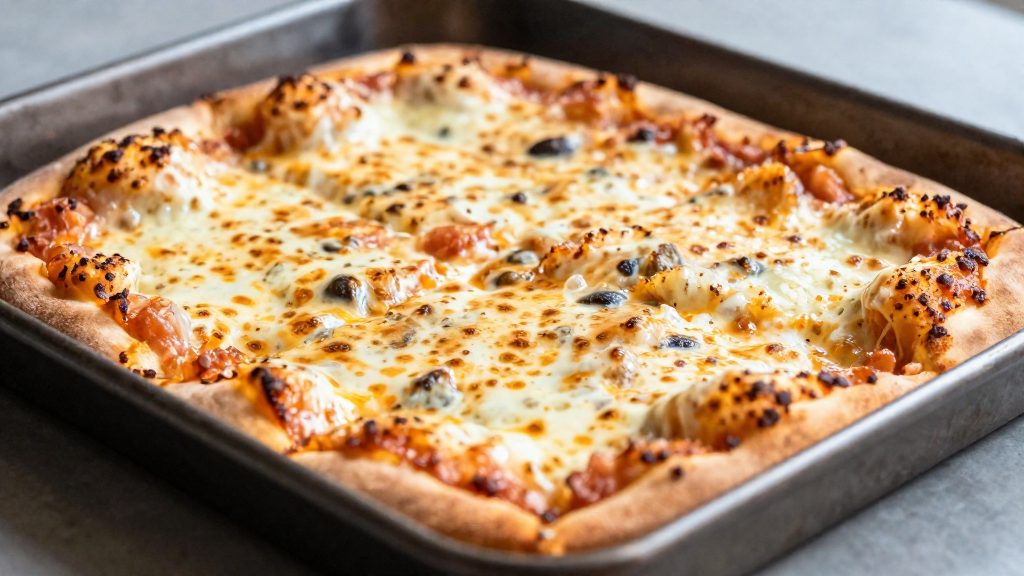
Yes, a pizza stone is optional for margherita pizza. Love and Lemons (2026) makes its margherita recipe on a baking sheet: the dough is stretched into a large oval directly on the sheet, topped with sauce and mozzarella.
Can you make margherita pizza without a pizza stone?
Yes. A baking sheet produces a workable margherita base. The Love and Lemons (2026) recipe leaves the stone out entirely and relies on the sheet to support the dough during baking, so the method depends on the oven and the sheet rather than on a stone.
Why a stone is used
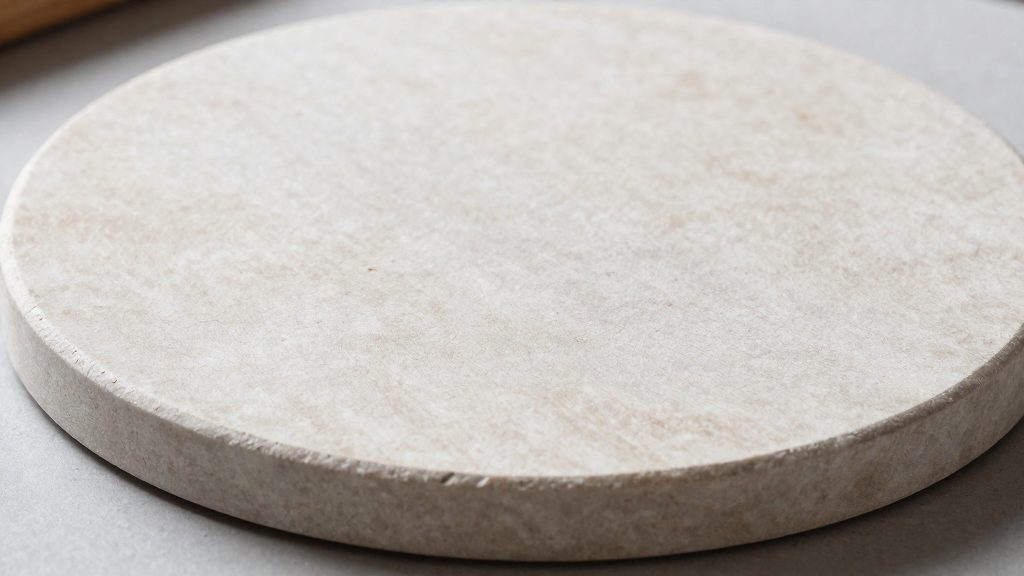
A stone is valued for its thermal mass, meaning how much heat a material holds and how slowly it releases that heat. A pizza stone is dense. It absorbs heat during preheating and then passes that heat into the underside of the dough as soon as the dough touches it.
How a thin baking sheet differs
A baking sheet is thin metal with a low thermal mass, so it stores much less heat than a stone. Its heat storage is limited, which means the base warms more slowly and depends more on the surrounding oven air.
| Factor | Pizza stone | Thin baking sheet |
|---|---|---|
| Thermal mass | High | Low |
| Heat delivered to the base | Fast on contact | Slower |
| Main source of base heat | Stored heat in the stone | Oven air and the sheet’s own warmth |
The practical result is that the margherita base receives less of a concentrated burst of heat. The bake depends more on the cheese and crust reaching doneness together, which is why the recipe describes the visible signs of melted mozzarella and golden crust.
Ingredients for a classic margherita
A classic margherita needs only a few components, and each one affects how the pizza bakes. The dough forms the base, the mozzarella forms the melted cheese layer, and the tomato sauce adds acidity and moisture. Choosing the right version of each matters more than adding extra toppings, especially when you bake without a pizza stone. A baking sheet conducts heat differently from a stone, so excess water from the cheese or sauce tends to show up quickly in the finished crust.
Dough basics
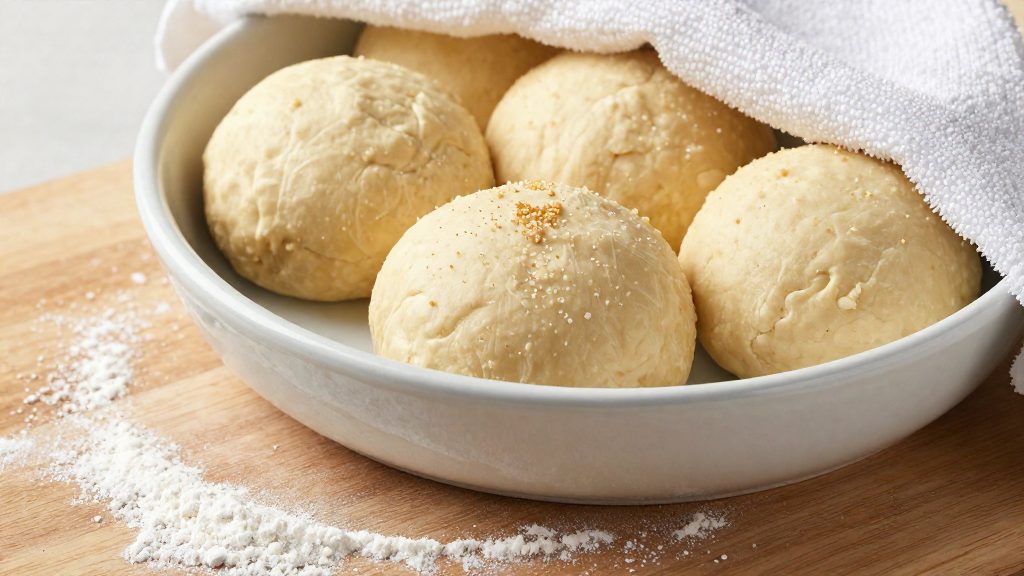
A simple pizza dough uses five basic ingredients, each with its own role. This is a general description, not the Love and Lemons (2026) dough method:
- Flour: Sets the structure and chewiness of the crust. Bread flour, with its higher protein content, produces a sturdier dough than all-purpose flour, which gives a softer result.
- Water: Hydrates the flour and activates the gluten that gives the dough elasticity.
- Yeast: Produces the gas that makes the dough rise.
- Salt: Controls yeast activity and adds flavour.
- Olive oil: Softens the texture and makes the dough easier to handle.
Mix the ingredients until the dough is smooth and elastic, then let it rise before shaping. Dough that is too wet is hard to stretch, while dough that is too dry tears and bakes up dense.
Mozzarella: fresh versus low-moisture
The two most common types of mozzarella behave very differently on a pizza:
| Type | Water content | Behaviour during baking | Preparation |
|---|---|---|---|
| Fresh mozzarella | High | Releases liquid as it heats, giving a soft, creamy texture | Drain and pat dry before placing on the dough |
| Low-moisture mozzarella | Lower | Melts evenly and stretches, with less surface water | Shred or slice; no draining needed |
Crushed tomatoes
For the sauce, use crushed tomatoes seasoned with salt and a small amount of olive oil. Salt brings out the flavour of the tomatoes, and the oil adds richness and helps the sauce spread evenly. Apply a thin, even layer rather than a thick one. A heavy coat of sauce adds moisture that the crust must absorb, which slows browning and can leave the centre soggy.
Which pan works best instead of a stone?
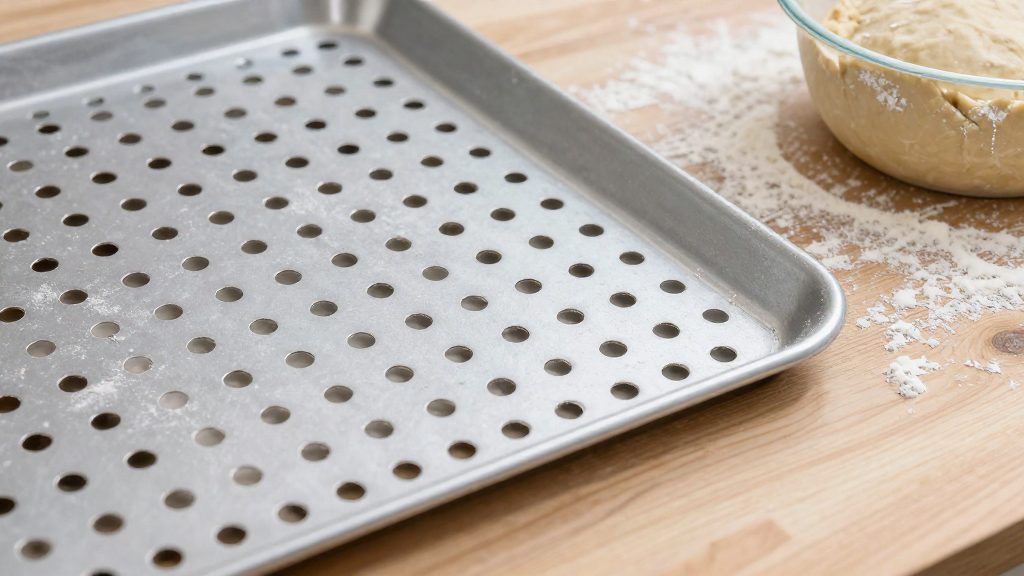
When you bake without a stone, the pan becomes the cooking surface. Love and Lemons’ margherita recipe works this way. Two pans are worth comparing for this method, a solid aluminum half sheet and a perforated pizza pan, and they differ in how heat reaches the dough.
- Solid aluminum half sheet. A solid aluminum half sheet is a common choice. Its flat base supports the dough across its whole underside. The official sources consulted do not specify its exact dimensions or metal thickness, so check the product listing against your oven rack before buying.
- Perforated pizza pan. A perforated pizza pan has openings that are generally said to let heat reach the underside of the dough more directly than a solid surface does. This is not covered by the Love and Lemons (2026) recipe. The official sources consulted do not give its hole pattern or pan gauge, so judge its results by how the crust browns in your own oven.
Warping under high heat
Metal pans can bend when they heat quickly and unevenly. A tilted pan moves the sauce toward one edge and can make the dough slide. Thinner pans are more prone to this than heavier ones, so a sturdy pan is the safer choice for a stoneless bake. Position the rack according to your oven (see the rack section below), and let the pan cool fully before washing, since sudden temperature changes can also distort the metal.
Choosing between them
A solid aluminum half sheet suits bakers who want a flat, stable base that holds the dough without openings. A perforated pan suits bakers who want more heat contact on the underside of the crust. Pick the one that matches the crust texture you want, and use the same pan each time so you can compare results.
How do you get a crisp crust on a baking sheet?
Without a pizza stone, the base is shaped and baked directly on the metal. Love and Lemons (2026) describes a margherita method that works this way: dust the baking sheet with cornmeal, stretch the dough into a large oval on the sheet, then add sauce and mozzarella. Each of these steps affects how the bottom of the crust turns out.
Dust the sheet with cornmeal
Cornmeal creates a layer of loose grit between the dough and the metal. This keeps the dough from sticking, so the base slides off the sheet cleanly when it is done, and the grit adds a light crunch to the underside.
Stretch the dough directly on the sheet
Shape the dough on the baking sheet instead of moving it there after stretching. A large oval fits a standard rectangular sheet and avoids the tearing that can happen when a thin round is lifted. Press the dough outward from the centre with your fingertips rather than dragging it, which keeps the base even in thickness.
Leave a 1-inch border
Spread the sauce and mozzarella inside a 1-inch (about 2.5 cm) border, leaving the outer edge bare. Love and Lemons (2026) specifies this margin. It keeps sauce and cheese from running over the edge, which leaves the rim free to rise and brown while the centre stays flat.
Place the sheet on a lower rack
A lower rack puts the base closer to the heating element at the bottom of the oven, which encourages the underside to brown. The official sources consulted do not specify exact rack positions for baking sheets, so check how your oven’s heat is distributed and adjust by trial. If the base looks pale when the top is done, move the sheet lower in the oven on the next bake.
Oven temperature and baking time
According to Love and Lemons (2026), this margherita bakes at 500°F (about 260°C) for roughly 10 to 12 minutes, until the cheese has melted and the crust is golden brown. The 500°F target sets the heat for the whole bake, and the bake window is the span between placing the pizza in the oven and the point where it is done. Because the dough sits on a baking sheet rather than a stone, the oven must be fully up to temperature before the pizza goes in.
Checking the oven temperature
Built-in oven dials can read higher or lower than the air inside the cavity. To confirm that 500°F is really reached:
- Place a standalone oven thermometer on the rack where the sheet will go.
- Preheat until the thermometer reads 500°F, and allow the oven to hold that reading for a while before baking.
- If the reading differs from the dial, adjust the dial setting for future bakes rather than changing the recipe time.
Reading the bake window
Start checking at the low end of the range. Doneness comes from a few visual signs that appear together:
| Sign | What it indicates |
|---|---|
| Cheese fully melted and bubbling | The toppings are cooked through |
| Crust edges golden brown | The dough is baked at the rim |
| Pale, soft centre | The pizza needs more time |
Look for the golden-brown edges as the clearest indicator. The timer is a guide, while the colour of the rim and the state of the cheese show when the pizza is ready.
Cast iron skillet method
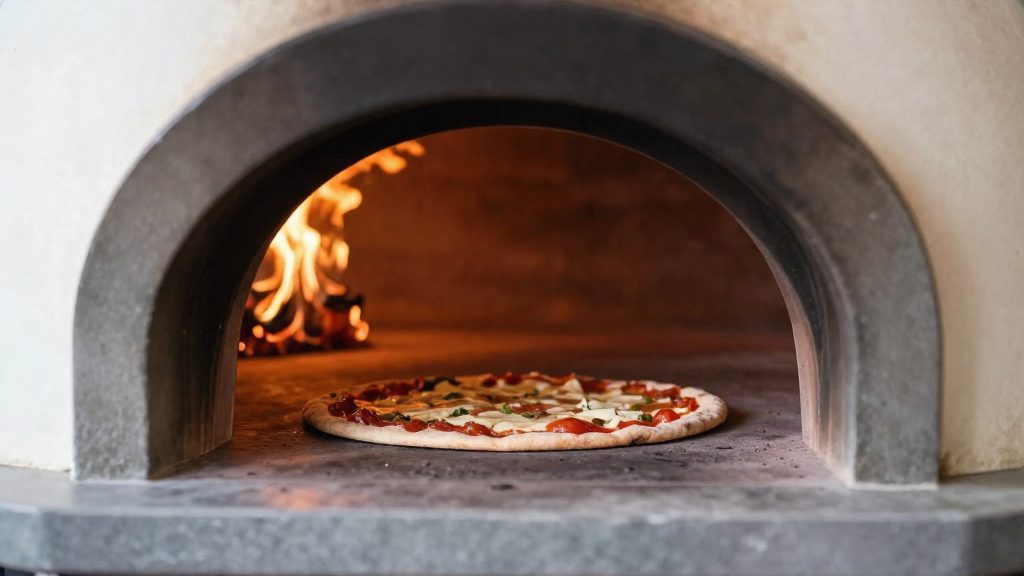
A cast iron skillet is another common alternative when you don’t have a pizza stone, though it is not part of the Love and Lemons (2026) recipe. The heavy metal holds heat well, so the base can brown while the cheese melts. The method below is a general how-to, so check your skillet’s own care and heat guidance.
Preheat the skillet in the oven. Place the skillet on the middle rack while the oven heats so the metal warms through. A skillet that enters the oven cold cools the base of the dough and slows browning. Once the oven is hot, keep the skillet in place until you’re ready to add the dough.
Oil the base before the dough goes in. Brush a thin layer of oil over the bottom of the hot skillet. The oil helps keep the crust from sticking. Spread the dough out on a lightly floured surface first, then lay it into the skillet. If the dough is thick, press it toward the edges so the base is an even thickness.
Build the pizza in the skillet. Spread the sauce, then add the mozzarella. Keep the toppings in a single, even layer so the base cooks evenly.
Transfer the hot skillet safely. Wear heatproof oven gloves before you open the oven door or touch the handle, because the metal stays hot long after the oven is turned off. Pull the rack out slowly, set the skillet on a heatproof surface, and keep children and pets away while it cools.
| Step | Action | Purpose |
|---|---|---|
| 1 | Preheat the skillet in the oven | Warms the metal so the base starts cooking right away |
| 2 | Oil the base | Reduces sticking |
| 3 | Add the dough and toppings | Creates an even base for browning |
| 4 | Remove with heatproof gloves | Protects you from burns |
When should you add the basil?
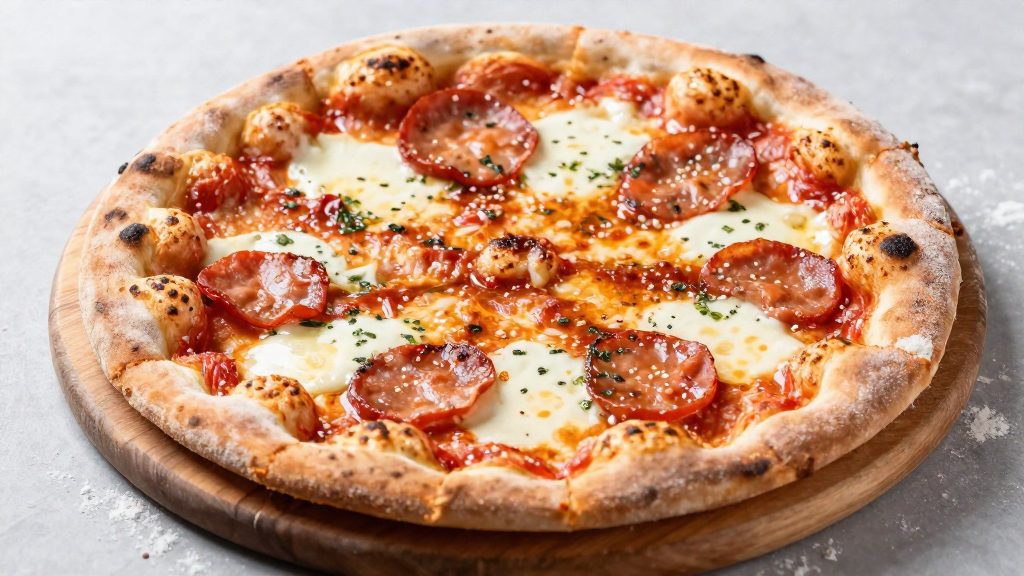
Add basil after the pizza leaves the oven. The Love and Lemons margherita recipe (2026) adds the basil only once baking is finished. The reason is that heat wilts basil. Leaves that sit under the cheese during baking soften, darken and lose the fresh look that makes a margherita stand out. Putting them on at the end keeps them green and tender, so the flavour arrives with the first bite.
Tear the leaves, don’t cut them
Tear basil by hand into rough pieces rather than slicing it with a knife. Torn pieces spread across the cheese and sit evenly in each slice. Cutting with a knife also tends to bruise the edges, which makes the leaves look dull by the time you serve.
Tear the leaves over the pizza or just before you bring it to the table. Basil that sits out for a long time, even at room temperature, loses its brightness.
Finish with olive oil and fresh basil
Once the pizza is out of the oven, drizzle olive oil over the hot surface, then scatter the torn basil on top. The warm cheese and crust help the oil spread, and the basil sits on top of it instead of being cooked into the topping. The two finishes work together: the oil adds richness, and the fresh leaves add a clean, herbal note that baking would otherwise flatten.
Common mistakes to avoid
Most problems with a margherita baked on a sheet pan come from three habits: too many toppings, cutting too early, and stretching the dough too thin. Each one changes how heat reaches the base or how the slice holds together, so the fixes are different.
Overloading the toppings
A heavy layer of sauce or mozzarella insulates the dough and slows heat transfer to the base. The result is a pale, soft centre under a finished top. Spread the sauce thinly and use an even, modest layer of mozzarella rather than piling it on. If the base still looks wet after the cheese has melted and the crust is golden, the topping load was likely too heavy.
Keep the toppings thin enough that the dough, not the cheese, takes the heat.
Cutting before the cheese sets
A margherita is still soft when it leaves the oven. Melted mozzarella and sauce are fluid, and a knife dragged straight through them drags the toppings off the base, leaving a sticky, slipping slice. Let the pizza rest on the sheet for a short time after baking, then cut. The short rest lets the cheese firm enough to hold its shape on the slice.
Pressing the dough too thin
Stretching the dough is the step most likely to go wrong. When the dough is pressed or pulled until it is very thin, the thinnest areas have little structure to hold steam and rise. They tear during baking, and sauce or cheese can leak through the gaps. Stretch the dough gently, working from the centre outward, and accept a slightly uneven edge. A dough that springs back is better left to rest for a few minutes than forced into shape.
Frequently asked questions
Can a thin baking sheet give a crisp base without a pizza stone?
A thin sheet has low thermal mass, so it stores far less heat than a stone and warms the base more gradually, relying on the surrounding oven air. Love and Lemons (2026) still uses this approach, baking at 500°F (about 260°C) for about 10 to 12 minutes.
Can I use a cast iron skillet instead of a baking sheet?
A cast iron skillet is a common alternative, but Love and Lemons (2026) does not include it. The official sources consulted do not specify a temperature or time for skillet baking, so check the cheese and crust visually rather than relying on the sheet timing.
Does the cornmeal dusting change how the pizza bakes?
Love and Lemons (2026) dusts the sheet with cornmeal before the dough is stretched into an oval on it. The official sources consulted do not say how the dusting affects the bottom of the crust.