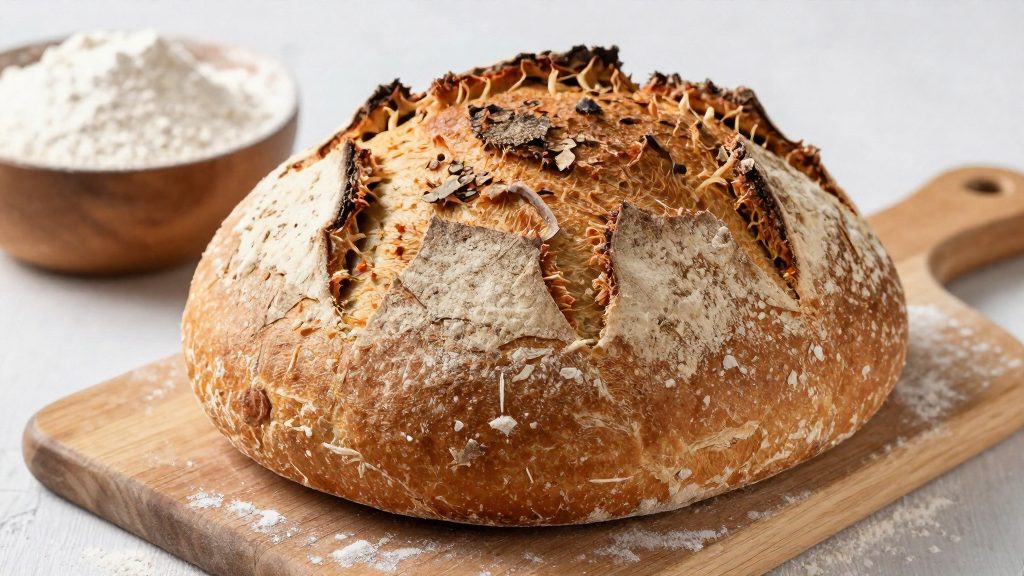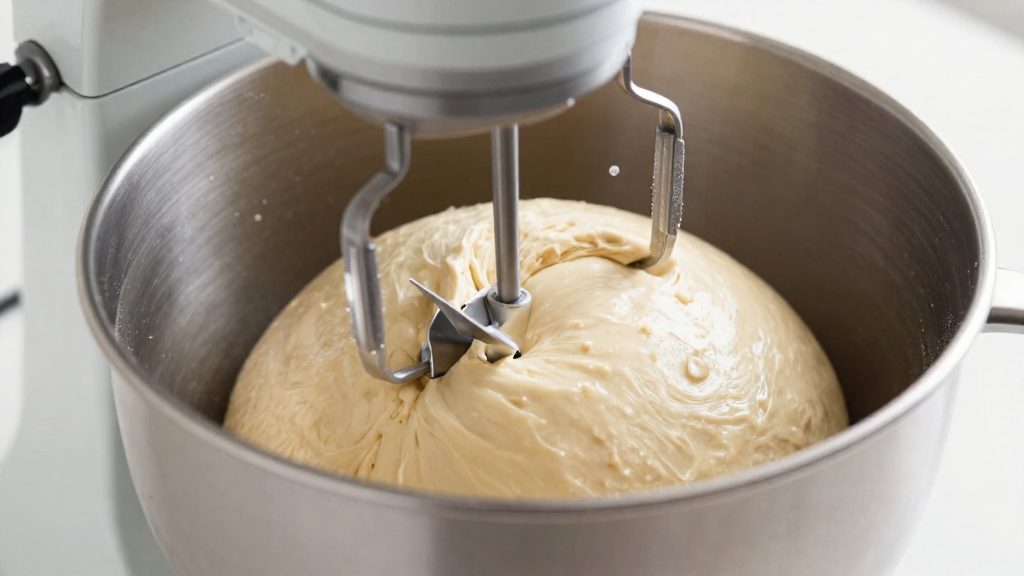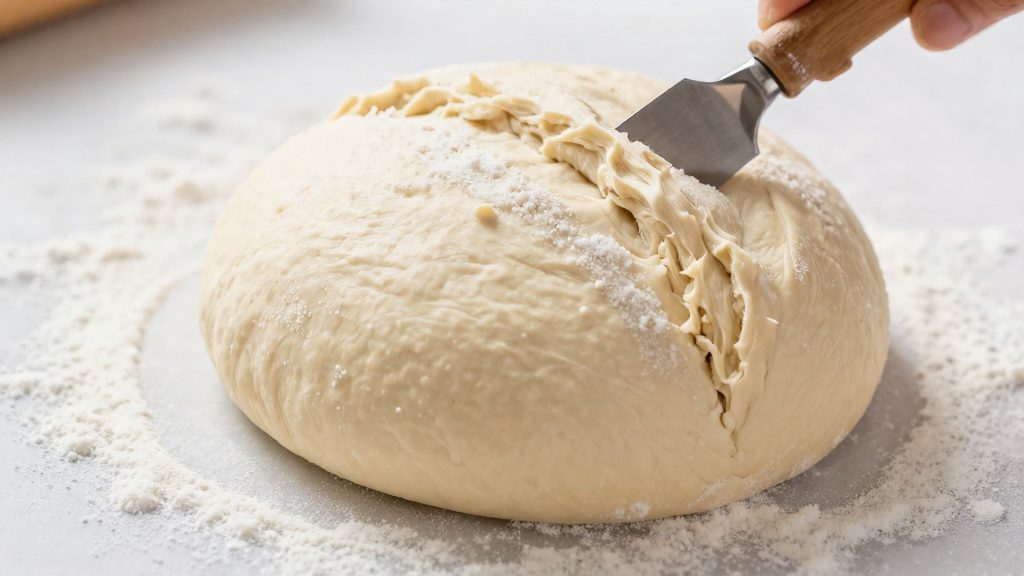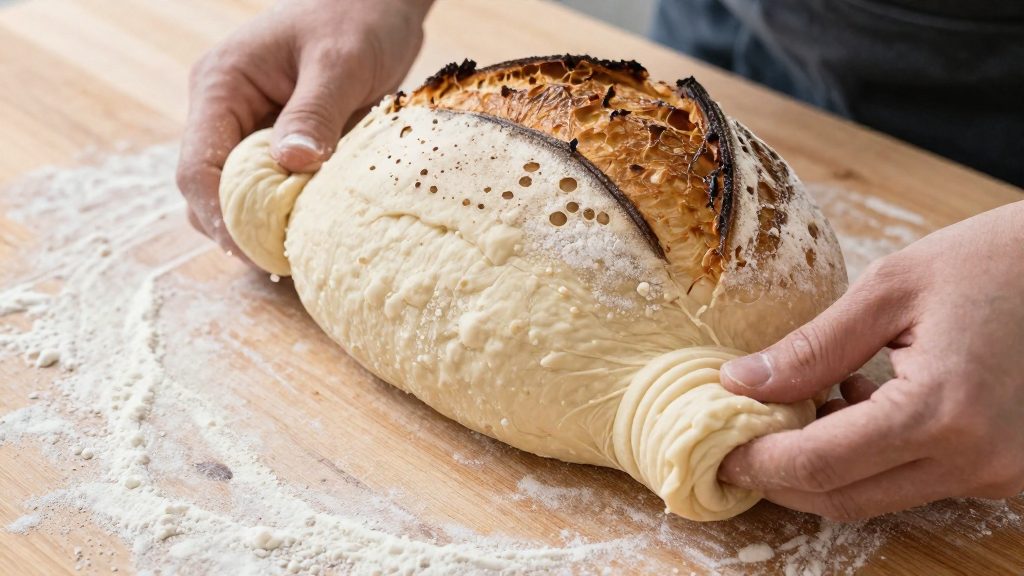
Stretch and folds are a gentle way of handling dough while it rises in its container during bulk fermentation, the first rise after mixing and before the dough is divided and shaped. The baker lifts part of the dough, stretches it and folds it back over the rest, repeating this at intervals so the whole mass gets handled. According to The Perfect Loaf (2026), the technique does four jobs at once: it strengthens the dough, evens out its temperature, lets the baker check fermentation and strength, and traps a little air.
What is the stretch and fold technique?
Stretch and folds are performed on the dough while it is still one unshaped mass. The baker can build structure without the heavier handling of kneading. Each round of folds works on the dough as a whole, so the gluten network is reinforced evenly rather than in one spot.
The four jobs are summarised below, based on The Perfect Loaf (2026) and The Clever Carrot.
| Job | What it does for the dough |
|---|---|
| Strength | Repeated stretching aligns and tightens the gluten network, so the dough holds its shape better. |
| Temperature | Moving the dough from the outside to the centre helps equalise its temperature throughout. |
| Fermentation checks | Each round lets the baker feel how the dough is developing and how strong it is becoming. |
| Trapped air | Folding traps small pockets of gas, which contribute to the structure of the finished loaf. |
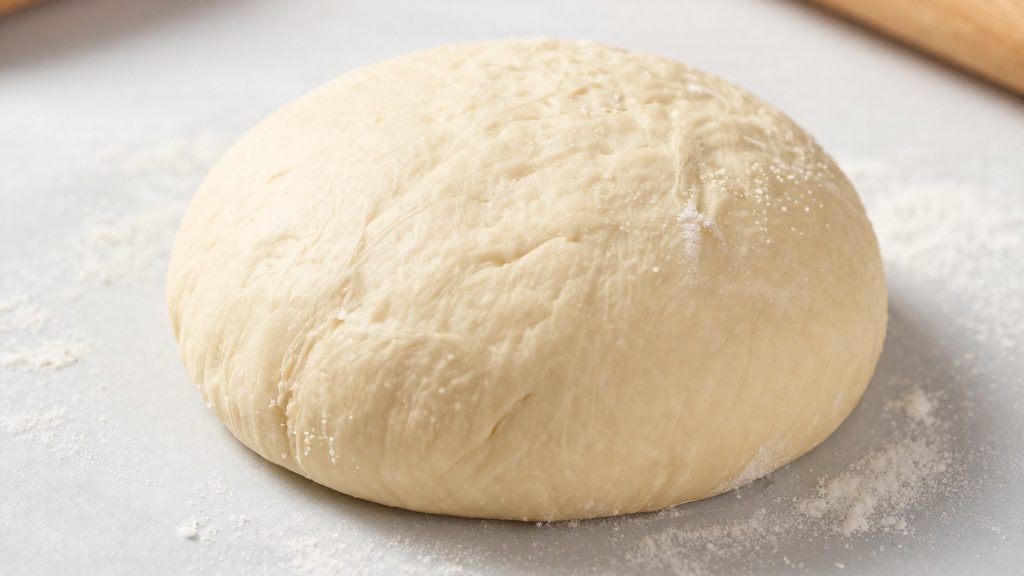
The change is visible as well as tactile. According to The Clever Carrot, the dough usually tightens as the folds progress, moving from flat and dense to plump and jiggly as it gains strength. This is why the technique is judged by the dough’s feel rather than by a fixed routine.
Why stretch and fold instead of kneading?
Stretch and folds build gluten structure in wet dough through a series of short, gentle stretches, not through sustained kneading. Each stretch pulls the gluten network taut, and each fold returns the dough to a rounded shape, which gradually organizes the network.
High-hydration dough is too slack to hold its shape on a work surface. It sticks, tears and spreads, which makes kneading on a bench awkward. The stretch and fold method means the dough does not have to be pushed across a surface. The Clever Carrot describes the same approach, with the bowl itself turned between stretches.
The method also carries a lower risk of overworking the dough. Stretch and folds are separate actions with rests between them, so the baker can judge the dough after each one. According to The Perfect Loaf (2026), stretch and folds let the baker check fermentation and strength as they go, which gives a natural checkpoint that continuous kneading, whether by hand or in a machine, does not provide.
How to stretch and fold step by step
A full stretch and fold set is a short sequence of hand movements done with the dough still in its bowl. Start by wetting your fingertips with water. Wet hands keep the dough from sticking, so you can lift it cleanly without tearing the surface.
Next, slip your wet fingers under one side of the dough and lift that side until the dough stretches. Pull it upward, then fold it over the centre of the dough. Each fold covers a portion of the dough, so work with one side at a time rather than trying to lift the whole mass.
After the first fold, rotate the bowl. The sequence is a set of four folds with a specific turn pattern between them, described by The Perfect Loaf (2026):
| Fold | Action | Bowl turn before the next fold |
|---|---|---|
| 1 | Lift one side, stretch upward, fold over the centre | 180° |
| 2 | Lift, stretch, and fold again on the new side | 90° |
| 3 | Lift, stretch, and fold | 180° |
| 4 | Final lift, stretch, and fold | None |
The Clever Carrot describes the same idea as a quarter turn of the bowl after each fold, repeated around the bowl until four folds are complete. Either way, the bowl moves while the dough stays put, so each side of the dough gets lifted once.
Keep the dough inside the bowl for the whole sequence. Lifting and folding in place means you never transfer the dough to the counter, which keeps the surface gentle and the dough in a single, contained mass. When the four folds are done, the set is complete.
How many sets of stretch and folds do you need?
According to The Perfect Loaf (2026), a typical bulk fermentation needs a baseline of about three sets, spaced roughly 30 minutes apart. Treat this as a starting point. How the dough was mixed and how firm it feels at each stage determine whether you add sets, skip them, or space them differently. The goal is ideal strength, not maximum strength. More sets do not guarantee a more open crumb, so extra folding is not a shortcut to a better loaf.
| Dough condition | Guidance | Source |
|---|---|---|
| Baseline | About 3 sets, roughly 30 minutes apart | The Perfect Loaf (2026) |
| Mixed weakly | Add sets to the baseline | The Perfect Loaf (2026) |
| Already firm and elastic | Skip the sets | The Perfect Loaf (2026) |
| Very slack, high hydration | Early sets 10 to 15 minutes apart | The Perfect Loaf (2026) |
| Wet dough | Sets 15 to 30 minutes apart, five at most | The Clever Carrot |
| Stiffer dough | Sets 30 to 60 minutes apart | The Clever Carrot |
Weak mixing is the main reason to add sets. Dough that has not developed enough structure at the start of bulk benefits from the extra folds. Dough that already holds its shape does not, and further folding can work against you.
Very slack, high-hydration doughs need a different rhythm. The Perfect Loaf (2026) recommends placing the early sets 10 to 15 minutes apart, so the dough gains structure before it has a chance to spread.
The Clever Carrot describes a longer schedule. Its first set comes about 30 minutes into bulk, followed by up to four more, for five in total at most. Its spacing depends on hydration: 15 to 30 minutes for wet dough and 30 to 60 minutes for stiffer dough. The Clever Carrot’s schedule differs from the baseline, so treat both as starting points and adjust to the dough.

When should you stop folding?
Judge the dough by how it feels and looks, not by the timer. Fold sets are a way to build strength, so the signal to stop is the dough itself reaching the strength you want, not a set number reached on the clock.
During a set, pay attention to the dough’s resistance. Around the third or fourth fold, the dough usually tightens. Stretching a portion upward becomes harder, and the surface feels more taut and springy. That change is your cue that the dough is gaining strength within that set.
Across the whole bulk fermentation, look at the dough’s overall shape and texture. Dough that starts out flat and dense often becomes elastic after about two to four sets. It goes from spreading out in the bowl to holding a rounded shape, and it turns plump and jiggly when you shake the bowl gently.
| Signal | What it usually means |
|---|---|
| Stretching a portion feels harder around the 3rd or 4th fold | The dough is tightening within the current set |
| Dough is still flat and dense | It is early in the process and still building structure |
| Dough is plump and jiggly after about 2 to 4 sets | It has reached a good elastic state |
Coil fold or stretch and fold: which is better?
Neither method is better in every case. The right choice depends on how strong the dough already is. A stretch and fold is the more active option: you lift one side of the dough, stretch it, and fold it over. A coil fold is the gentler alternative: you lift the middle of the dough and let the ends fold under themselves. According to The Perfect Loaf (2026), the coil fold suits dough that is already fairly strong.
The two methods differ mainly in how much they stress the gluten network and how much effort they demand from the baker.
| Factor | Stretch and fold | Coil fold |
|---|---|---|
| Movement | Stretching one side up and folding it over | Lifting the middle and letting the ends tuck under |
| Gluten effect | Builds strength in slack dough | Tightens dough that is already developed, with less stretching |
| Best dough state | Weak or loosely mixed dough that needs structure | Fairly strong, elastic dough |
| Handling effort | More active, with a stretch on every fold | Lighter, with less pulling on the dough |
Gentleness is the main advantage of the coil fold. Because the dough is pulled less than in a stretch and fold, there is less risk of tearing a dough that has already developed well. This makes it a sensible choice once the dough, including a higher-hydration one, has already built strength and is fairly strong. Slack dough still needs stretch and folds first.
Gluten force is where the stretch and fold does more work. Its stretching action pulls the gluten into a stronger structure, which is what a dough needs if it was mixed weakly. The sources recommend the coil fold only for dough that is already fairly strong, so the stretch and fold is the better option for weakly mixed dough.
Common mistakes to avoid
Most problems with stretch and folds come from handling the dough more than it needs, or handling it in a way that breaks the structure the folds are meant to build. Each mistake below affects the dough differently, so the fixes differ too. Anything that tears or dries the dough works against the purpose of the technique.
Adding too much flour to sticky dough
Sticky dough can tempt bakers to dust the surface with flour during folds. Flour on the surface stops the dough from sticking to your hands, but it also dries the outer layer and gives the stretch less moisture to work with. The dough then tightens unevenly and tears more easily at the surface. Work with the dough’s own stickiness and keep added flour to a minimum.
Folding too early or too often
Folding more than the dough needs does not help. According to The Perfect Loaf (2026), more sets do not guarantee a more open crumb, because the aim is ideal strength, not maximum strength. If the dough is already firm and elastic, skip the sets.
Tearing the gluten
Gluten is the network that holds the gas produced during fermentation. When a stretch pulls the dough past its limit, the network tears, leaving weak spots and thin areas. The dough then holds less gas, and the loaf may spread or show a dense, uneven crumb. Stretch gently until the dough resists, and fold it over before it pulls apart.
Tearing the dough by lifting too hard or too far
Lifting too aggressively or too far from the bowl is a common cause of tears. The vigorous method lifts one side and folds it over, while the gentler coil fold lifts the middle and lets the ends fold under themselves. Using the coil fold on a weak dough is a common error, since the dough has no structure to hold its own weight as it lifts.
| Mistake | What happens to the dough | Better approach |
|---|---|---|
| Too much flour on sticky dough | Surface dries and tightens unevenly, tearing more easily | Keep added flour to a minimum |
| Tearing the gluten | Weak spots form and the dough holds less gas | Stretch only until the dough resists |
Frequently asked questions
How many folding sets does a beginner need?
Start with about three sets, spaced roughly 30 minutes apart, as described by The Perfect Loaf (2026). Add sets if the dough feels weak or was mixed lightly, and skip them if it already feels firm and elastic.
Should I use the vigorous method or the coil fold?
Use the vigorous stretch and fold with wet hands when the dough is still slack and needs building up. Switch to the coil fold, which lifts the centre and lets the ends tuck underneath, once the dough is already fairly strong (The Perfect Loaf, 2026).
Will more folds give me a more open crumb?
Not necessarily. The Perfect Loaf (2026) notes that more sets do not guarantee a more open crumb, because the goal is ideal strength rather than maximum strength. Over-folding can make the dough tight and harder to shape.