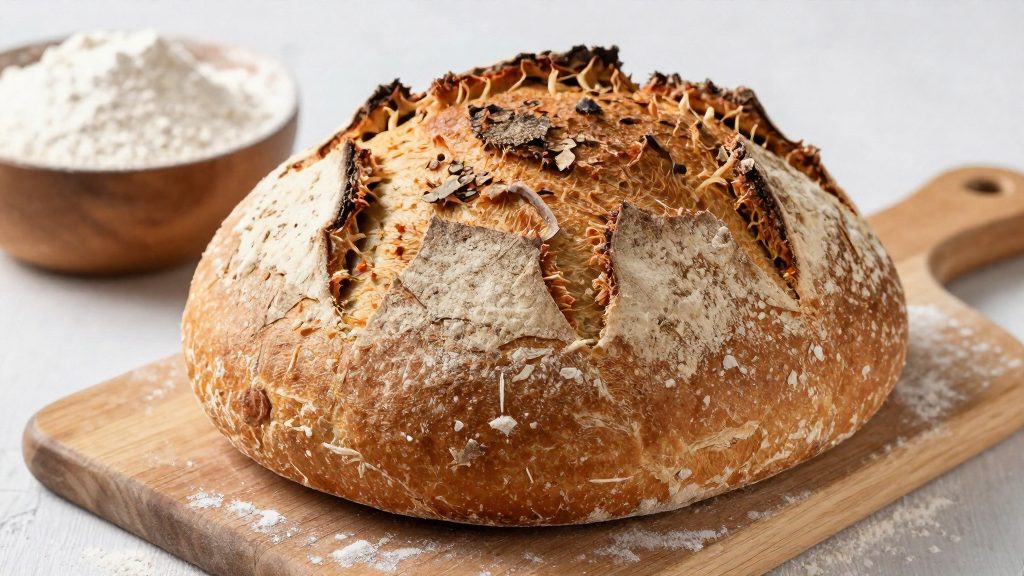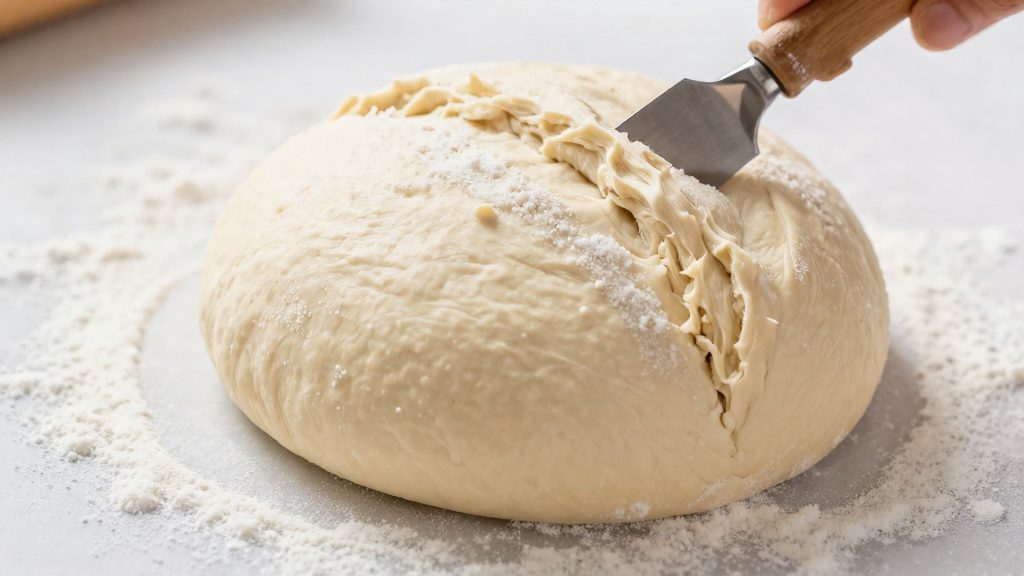
According to King Arthur Baking (2017), scoring gives the dough a planned weak point. Without one, the loaf can split in unpredictable places as it expands, so the score decides where the crust opens and also leaves a visible design on the finished loaf.
Why score bread dough?
A planned weak point for expansion
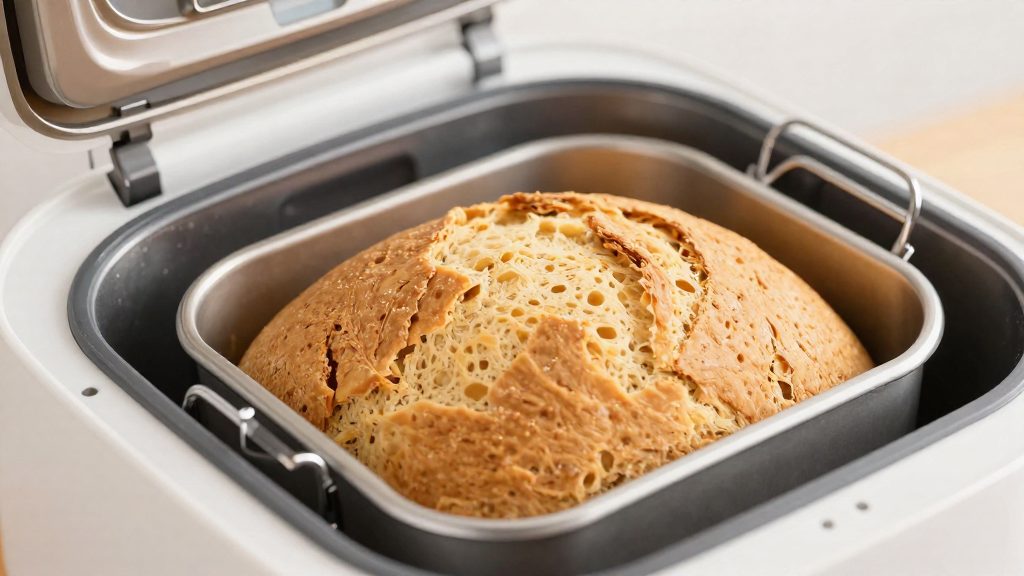
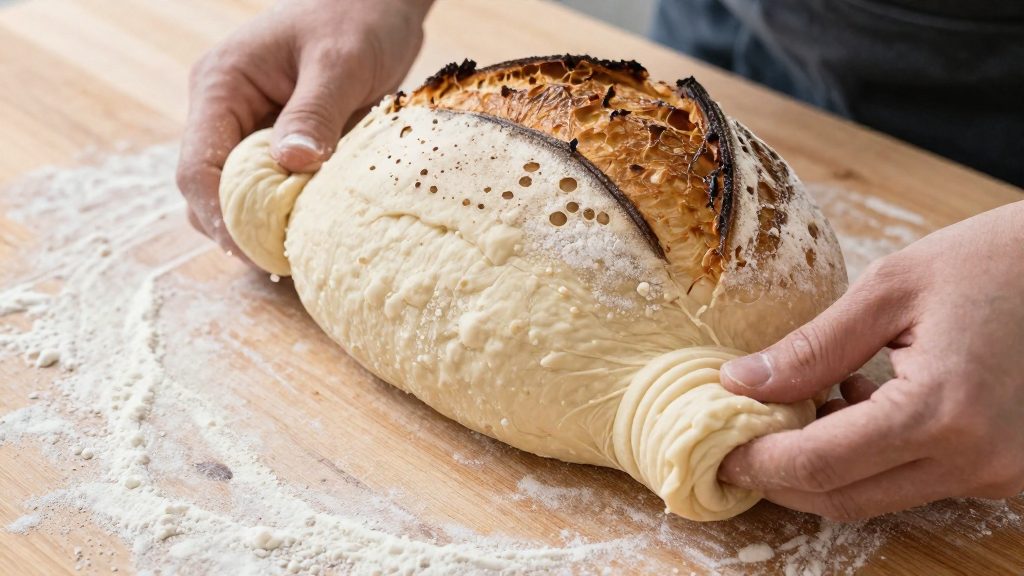
As a loaf heats, it keeps expanding. The skin formed during shaping is tight, and the expanding interior pushes against it until the dough finds a way out. Without a score, that way out is chosen by the dough itself, and the split can appear along a seam or on the side of the loaf. A planned weak point replaces that guesswork. The cut is the weakest point of the surface, so the loaf is more likely to open there than to split elsewhere.
Controlling where the loaf opens
Because the cut is the point of release, its position sets the position of the opening. A single long cut along the top gives one clear opening along that line. Several shorter cuts create several openings, which suits shapes where you want the bread to open in more than one spot. Placing cuts before baking therefore lets you plan the look of the loaf rather than accept whatever the dough does on its own. This is the core of controlled expansion: the bread still rises fully, but the direction of its rise is set by the baker.
Adding a decorative pattern to the crust
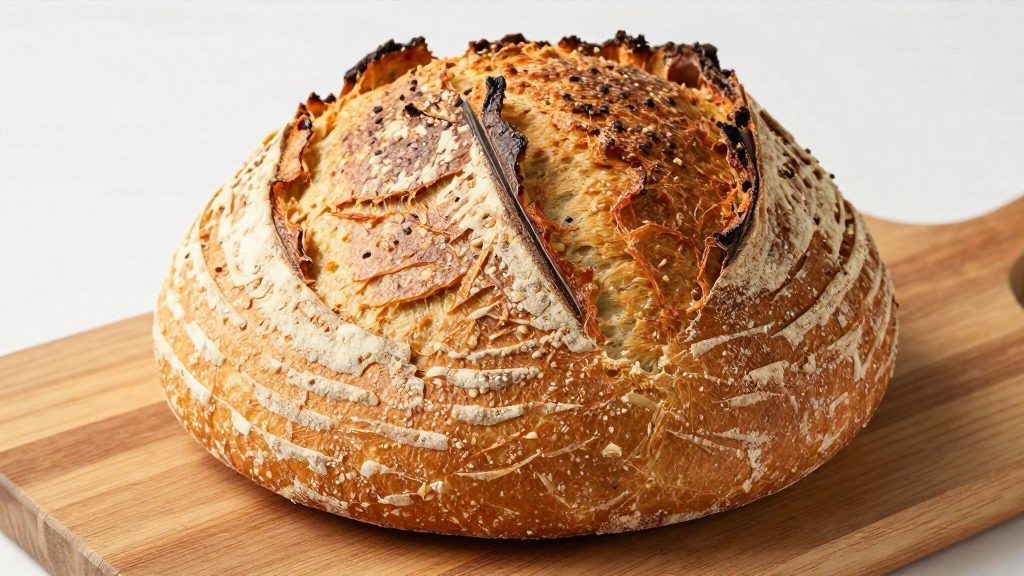
Scoring also gives the crust a decorative pattern. According to King Arthur Baking (2017), a straight blade gives a splayed opening and suits decorative patterns or rustic boules. The pattern appears once the cuts open in the oven, so the finished design often looks different from the cuts made on raw dough. Patterns such as a grid, a wheat-stalk motif or a few parallel lines are common in home baking, and each one uses the same principle: the cut both controls the opening and shows up as a visible mark.
Tools: lame, razor or knife
The tool you use changes the shape of the opening, so match it to the look you want and to what the dough contains. A curved lame lifts the cut into a raised flap, while a straight razor opens the cut into a flatter, splayed gap. Both suit plain doughs, but they produce different results. According to King Arthur Baking (2017), the curved lame makes a flap that lifts into a pronounced ear.
| Tool | Result on the loaf | Best suited to |
|---|---|---|
| Curved lame | Flap that lifts into a pronounced ear | Classic loaves where a raised ear is the goal |
| Straight razor (straight blade) | Splayed opening | Decorative patterns and rustic boules |
| Scissors | Clean cuts without catching on inclusions | Doughs with nuts, seeds or grains |
Scissors are the exception for inclusions. A blade can catch on nuts, seeds or grains and tear the surface, so scissors suit those doughs.
The King Arthur Baking (2017) guidance does not specify how a standard kitchen knife performs compared with a lame or razor.
How deep should you cut?
Cuts should be about 1/4 to 1/2 inch deep, according to King Arthur Baking (2017). At that target depth, the cut stays open through the bake instead of sealing back together, and the loaf keeps its overall shape. The blade has to pass through the outer layer rather than just graze it.
The reference point for depth is the taut skin formed during shaping. Each cut should extend below this skin. A cut that stays within the skin can seal back together instead of staying open. Before scoring the whole loaf, test the blade on one spot and check that it has gone under the skin.
Depth is a balance. Cutting too deep can cause collapsed sections in the finished loaf. If you are unsure, start slightly shallower on the first loaf and adjust on the next bake.
| Cut parameter | Guideline |
|---|---|
| Target depth | About 1/4 to 1/2 inch (6 to 13 mm) |
| Position relative to skin | Below the taut skin formed by shaping |
| Excessive depth | Can cause collapsed sections in the loaf |
Blade angle and the ear
The angle between the blade and the dough surface controls the shape of the opening. According to King Arthur Baking (2017-08-04), a curved lame is held at about 30 degrees, a straight blade at 90 degrees, and scissors at about 15 degrees. Each angle produces a different opening, and the difference is visible once the bread is baked.
| Tool | Blade angle | Opening after baking |
|---|---|---|
| Curved lame | About 30 degrees | Flap lifts into a pronounced ear |
| Straight blade | 90 degrees | Splayed opening |
The curved lame is the choice for a raised, decorative edge. It is held at a shallow angle, close to 30 degrees, so the cut lifts a flap of dough. As the loaf rises, that flap opens into a pronounced ear, the crisp, raised lip seen on many artisan loaves. The curve of the blade shapes this flap, so the angle should stay steady through the whole cut.
A straight blade held upright, at 90 degrees, cuts straight down through the skin. It does not form a flap. Instead, the sides of the cut open outward, giving a splayed opening.
Scissors are held at the lowest of the three angles given, about 15 degrees. The shallow angle means the blade works close to the surface of the dough rather than plunging into it.
Angle is only one part of the result. Holding the blade at the right angle gives the shape you want.
Scoring cold dough
Chilling dough in the fridge before scoring makes the cut easier to control. According to King Arthur Baking (2017-08-04), cold dough chilled in the fridge is firmer and easier to score than warm dough. That firmness works in your favour: the blade meets more resistance from the surface, so the cut follows the line you drew instead of wandering.
Chilled dough holds its shape under the blade. Because it resists deformation, a cut made on firm dough tends to be cleaner and more predictable, which matters when you want the opening to lift in a specific place. Warm dough is softer, so it stretches or drags under the blade. The line can wobble and the edges can tear. When the cut loses control, the planned weak point you gave the loaf becomes less reliable.
Handling dough for a firmer cut
- Shape the loaf, then place it in the fridge until it feels firm to the touch.
- Keep the dough cold while you prepare your blade or lame, so it does not soften before you score.
- Score the loaf while it is still chilled rather than letting it warm up on the counter.
| Dough state | Firmness | Scoring control |
|---|---|---|
| Chilled in the fridge | Firmer | Cleaner, more predictable cut |
| Warm | Softer | Harder to control |
Easy patterns for beginners
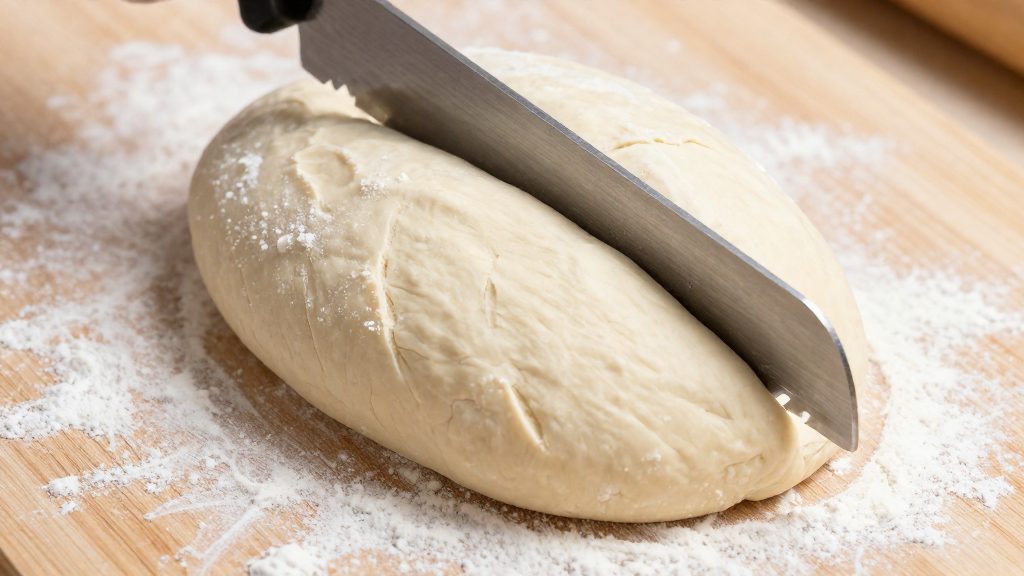
Beginners get the best results from simple patterns that need only one confident movement per cut. Start with the simplest design and add complexity once the basic movement feels reliable.
| Pattern | Number of cuts | Suggested order |
|---|---|---|
| Single slash | One | First |
| Crossed slashes | Two | Second |
| Overlapping curved cuts | Several, short and angled | Third |
Single slash
A single slash is the easiest starting point. Make one cut along the centre of the shaped loaf. It suits first-time bakers because there is only one movement to get right. As the loaf expands, the dough opens along that line.
Crossed slashes
Two slashes that cross each other form a simple grid look. Make the first cut, then a second one across it. Keeping the cuts evenly spaced helps the grid read clearly, and it gives beginners a chance to repeat the same movement twice on one loaf.
Overlapping curved cuts
For a wheat-stalk design, make a series of short curved cuts that overlap slightly, each angled the same way. This pattern asks for more control than the first two, so it is best attempted once single and crossed slashes feel routine.
Common scoring mistakes
Most scoring errors come down to three problems: the stroke, the condition of the dough, and the depth of the cut. The table below summarizes the three errors that most often spoil an otherwise well-shaped loaf.
| Mistake | Visible sign | Likely cause |
|---|---|---|
| Hesitant stroke | Surface drags and tears instead of opening cleanly | Blade slows or stops mid-cut |
| Scoring overproofed dough | Blade drags even with a steady hand | Dough has proofed too long and lost structure |
| Cut too shallow | Opening seals back together in the oven | Cut stays within the taut skin made during shaping |
Hesitant strokes that drag and tear the surface
A hesitant stroke is a common error. When the blade pauses or slows partway through, it drags across the skin instead of slicing through it, and the surface tears. The fix is to commit to one quick, smooth motion from start to finish, rather than making several small passes.
Scoring overproofed dough
When dough has risen for too long, it loses structure and no longer holds a clean opening. King Arthur Baking (2017-08-04) notes that a dragging blade may mean the dough proofed too long and lost structure. A dragging blade may also mean the dough proofed too long and lost structure. In that case, a sharper blade or a firmer hand may not fix the problem.
Cuts too shallow that seal back together
Instead of opening into a defined ear or split, the surface knits back together. Cut below the taut skin, about 1/4 to 1/2 inch deep, so the opening stays open in the oven.
What if the dough sticks to the blade?
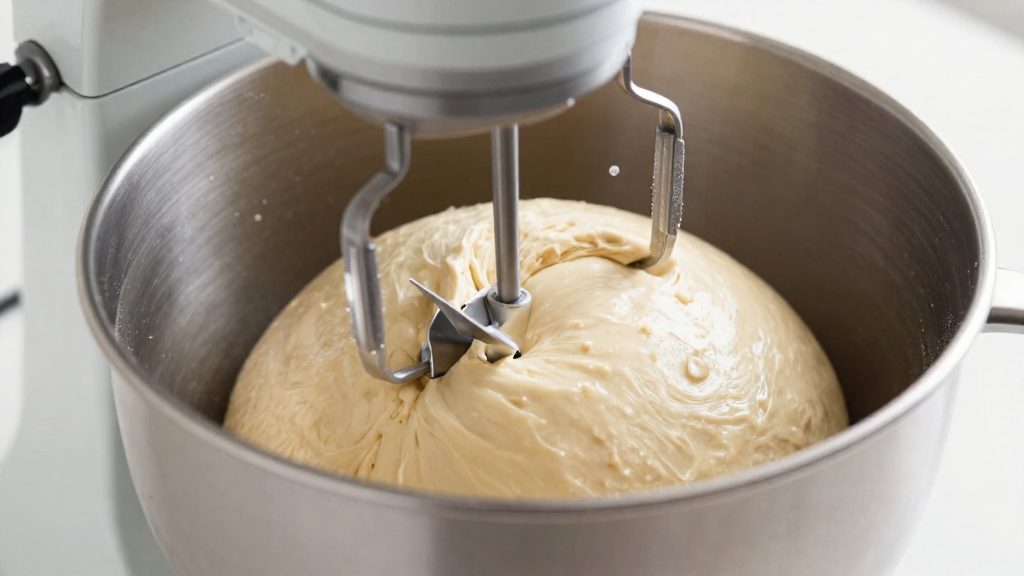
A blade that grabs the dough tears the surface instead of making a clean opening. This happens most often with high-hydration dough, which has a high ratio of water to flour and a wet, tacky surface. As the blade moves, the dough clings to the metal and pulls up, distorting the cut.
Simple ways to keep cuts clean
- Dust the surface with flour. A light layer of flour reduces tackiness so the blade glides rather than drags. A light dusting is usually enough, since the goal is to dry the surface, not to coat it.
- Dust the blade. On very wet doughs, a little flour on the blade itself can help it slide past the surface.
- Wipe the blade between cuts. Dough residue builds up on the edge and drags across the next score. Wipe the blade clean before each new cut, not only at the start of a batch.
- Choose scissors for seeded or grained doughs. According to King Arthur Baking (2017), scissors suit doughs with nuts, seeds or grains, because a blade can catch on those and tear the surface.
| Symptom | Likely cause | Simple fix |
|---|---|---|
| Blade drags and tears the surface | Tacky, high-hydration dough | Light flour dusting on the surface and blade |
| Streaks on the next cut | Residue built up on the blade | Wipe the blade between cuts |
| Blade catches on the surface | Nuts, seeds or grains in the dough | Use scissors |