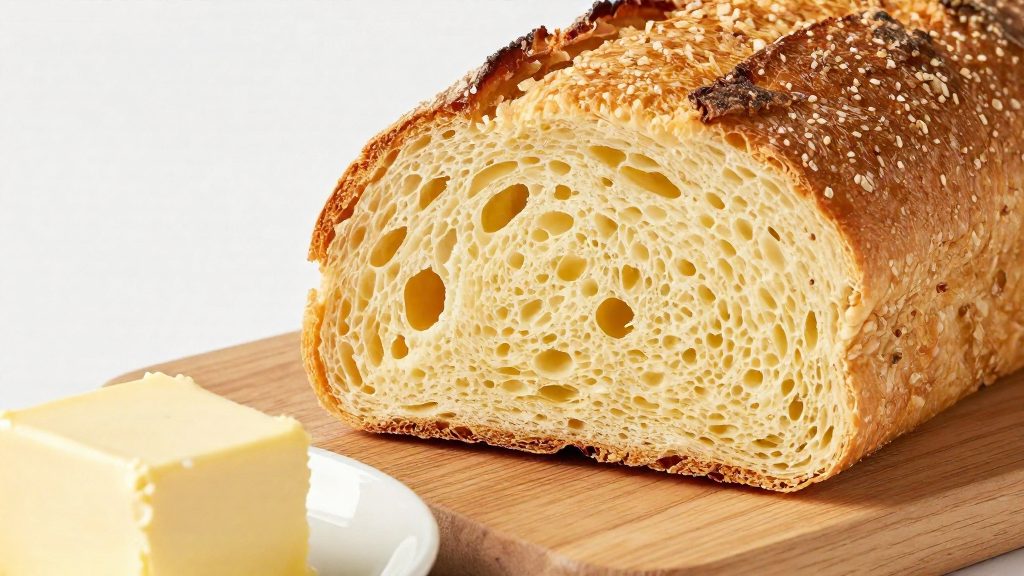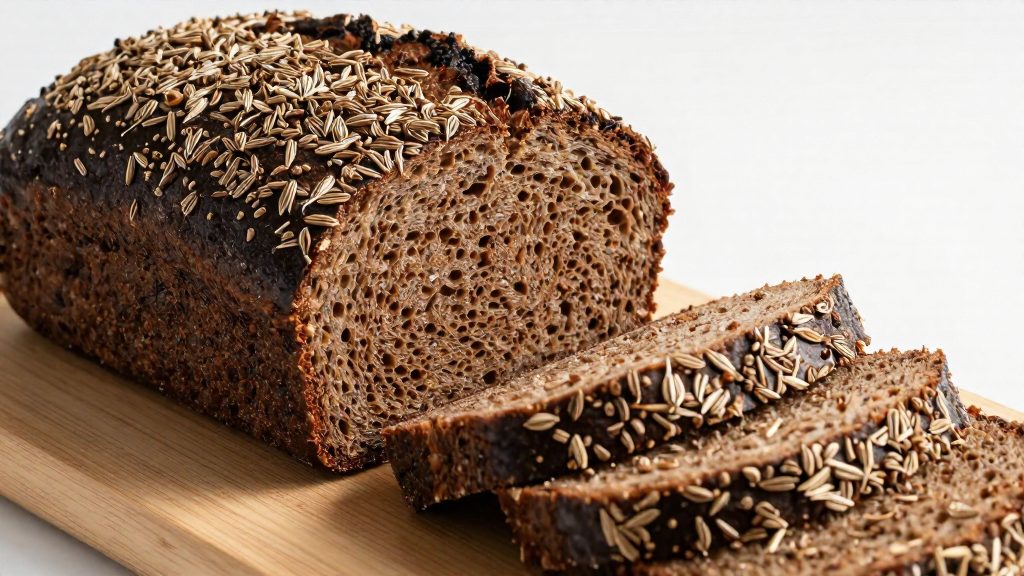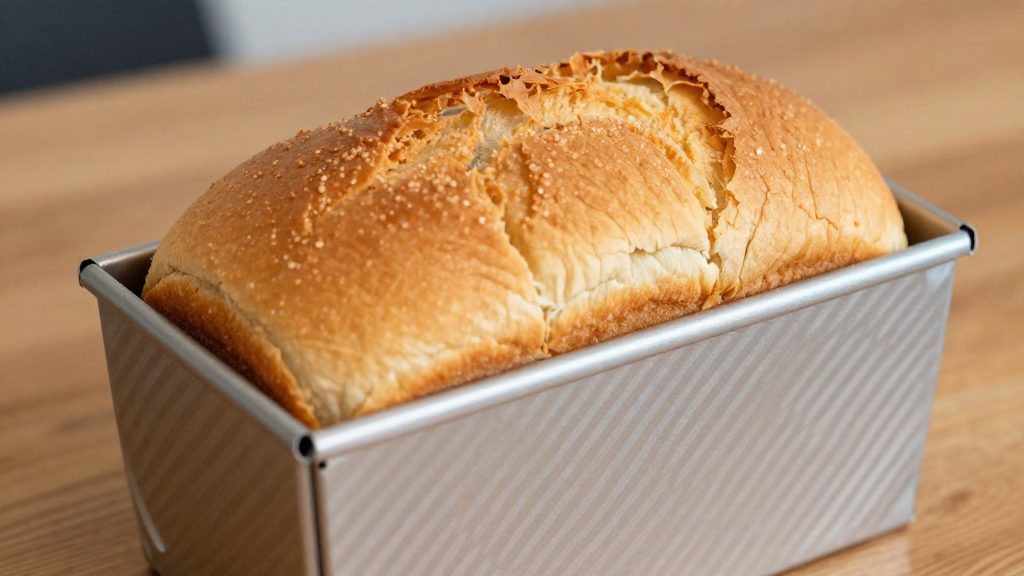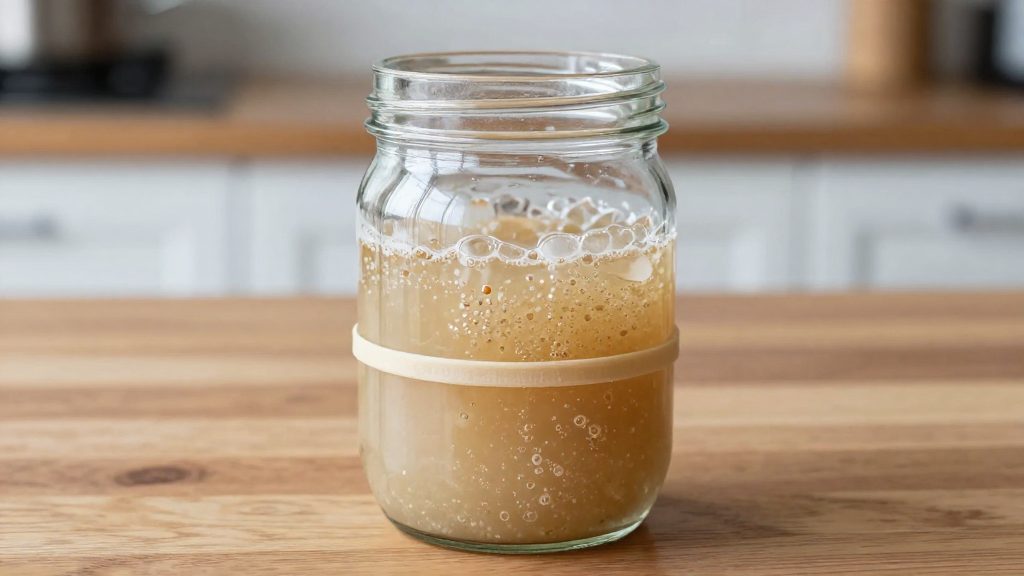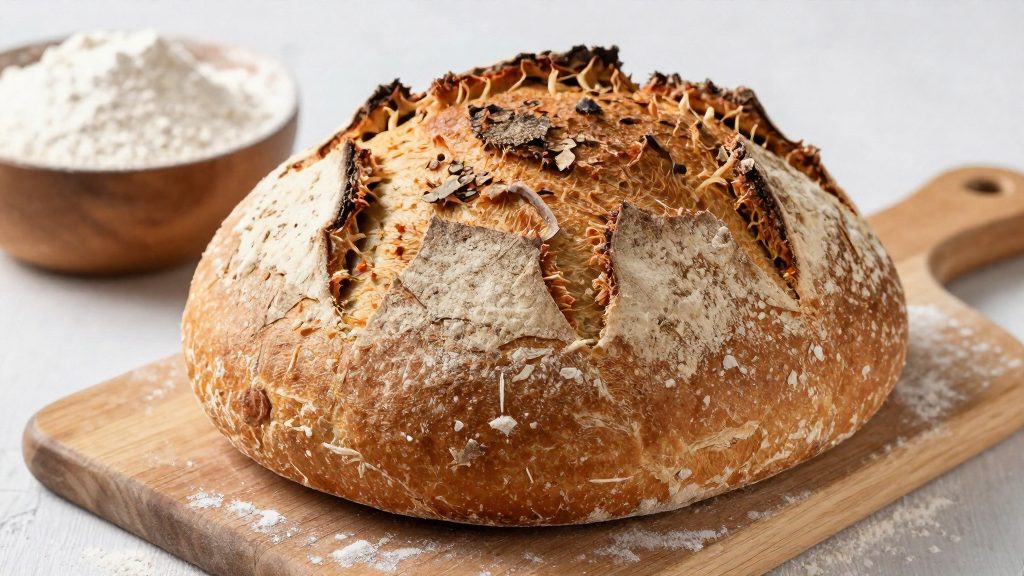
No-knead bread is a loaf made from a very wet dough that rests for many hours, so that gluten forms through time and hydration instead of hand or machine kneading. The baker combines flour, water, salt and yeast, waits, and lets the dough strengthen on its own. The result is a bread with an open, irregular crumb and a crisp crust, with little hands-on effort.
What is no-knead bread?
The method rests on a simple process. When flour meets water, its proteins link into gluten, the elastic network that traps gas and lets a loaf rise. Kneading speeds this up by stretching and folding the dough repeatedly. No-knead methods reach a similar structure more slowly. With enough water and enough time, the proteins connect without any mechanical work.
Hydration is what makes this possible. A no-knead dough is wetter than a kneaded one, so the flour particles can move and the proteins can meet without force. King Arthur Baking (2016) notes that bread flour behaves differently: with it, King Arthur recommends adding about 2 teaspoons of water per cup, and says the crust will be thicker and the crumb more closed. Higher-protein flour needs more water to hydrate fully.
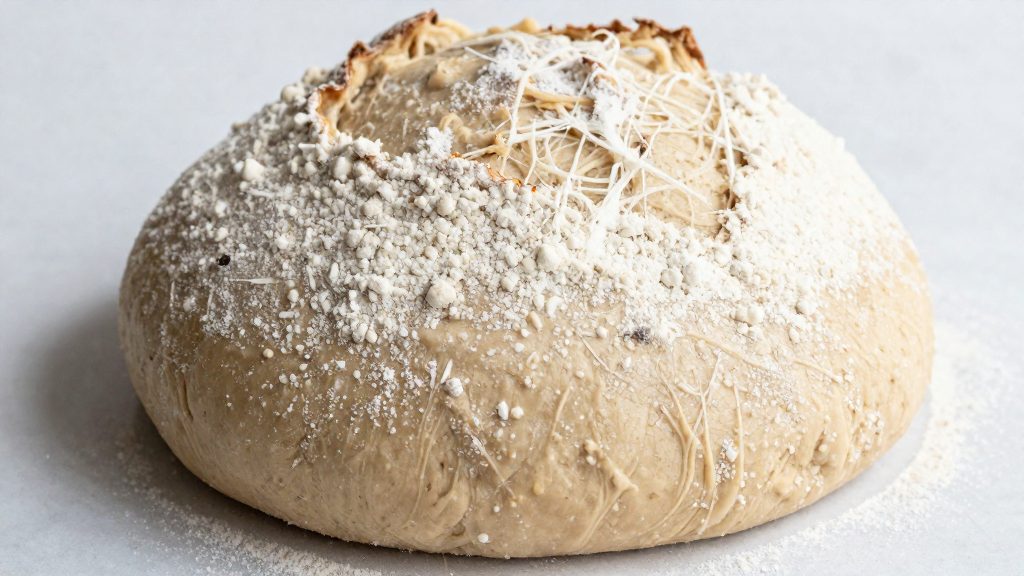
The texture reflects that wetness. Right after mixing, a no-knead dough is shaggy: sticky, loose and uneven, with no smooth surface. A kneaded dough becomes smooth and firm and holds its shape.
The method suits beginners for three reasons. It needs no stand mixer, no kneading technique and no specialized tools for the dough stage. The core steps are measuring, combining the ingredients into a single mass, and waiting. The skill shifts from physical technique to observing the dough and keeping measurements consistent. For a home baker without a mixer, this removes the most physically demanding part of bread making.
What ingredients and tools do you need?
The base recipe uses four ingredients: 900 g of unbleached all-purpose flour, 680 g of lukewarm water at about 105°F, 18 g of salt, and 14 g of instant or active dry yeast (about 1½ tablespoons). According to King Arthur Baking (2016), these are the quantities for its no-knead crusty white bread.
Quantities by weight and volume
| Ingredient | Weight | Volume (King Arthur Baking, 2016) |
|---|---|---|
| Unbleached all-purpose flour | 900 g | 7½ cups |
| Lukewarm water (about 105°F) | 680 g | 3 cups |
| Table salt | 18 g | 1 tablespoon |
| Instant or active dry yeast | 14 g | 1½ tablespoons |
Why weighing matters
King Arthur Baking (2016) advises weighing the flour. If you measure by volume instead, spoon the flour into the cup and sweep off the excess. Scooping straight from the bag packs the flour and adds more than 900 g, which makes the dough stiffer. A kitchen scale that reads in grams removes this variable.
Water temperature
King Arthur Baking (2016) defines lukewarm water as about 105°F. Check the temperature with a kitchen thermometer before adding the water to the flour.
Other published versions use far less yeast
The yeast amount varies widely between recipes, so check the quantity before you follow a different version.
| Recipe | Flour | Water | Salt | Yeast |
|---|---|---|---|---|
| King Arthur Baking (2016) | 900 g all-purpose | 680 g, about 105°F | 18 g | 14 g |
| Bob’s Red Mill (2026) | 3 cups bread flour | 1½ cups warm | 2 teaspoons | ½ teaspoon |
| Lodge Cast Iron (2026) | 3 cups bread flour | 1⅓ cups cool | 1¼ teaspoons | ¼ teaspoon |
Tools
- Kitchen scale for the flour, salt, and yeast
- Measuring spoons, if you use the volume equivalents above
- Kitchen thermometer, to check the water temperature
- A large bowl and a spatula or wooden spoon for combining the ingredients
Bob’s Red Mill (2026) and Lodge Cast Iron (2026) bake in a Dutch oven, which Lodge specifies as cast iron. King Arthur Baking (2016) instead bakes the loaf in the open oven with a steam pan of hot water.
Basic no-knead bread recipe step by step
The basic method has six stages: stir the ingredients into a shaggy dough, let it rise about 2 hours at room temperature, rest it in the fridge for at least 2 hours (up to about 7 days), shape it and let the loaf rest about 60 minutes, bake it with a steam pan in the oven, then cool it completely. King Arthur Baking’s no-knead crusty white bread, made with 900 g of unbleached all-purpose flour, follows this sequence. The table below sets out each stage, with the visual cue that tells you it is done.
| Step | What to do | What to look for |
|---|---|---|
| 1. Mix | Stir flour, salt, yeast and water in a bowl until no dry flour remains. | A shaggy, sticky dough with no dry patches |
| 2. Shape | Once the dough has risen, turn it onto a floured surface and fold it into a loose loaf. | A rounded shape that holds together |
| 3. Rest | Leave the shaped loaf on the work surface, covered, for about 60 minutes. | The loaf looks slightly puffed |
| 4. Bake | Bake at 450°F for 25 to 35 minutes, with the steam pan in place. | A deep golden brown crust |
| 5. Cool | Let the loaf cool completely before slicing. | A crumb that is set, not gummy |
When shaping, flour your hands and the work surface well, as Bob’s Red Mill advises in its no-knead artisan bread recipe (2026). The dough is sticky by design, so a light dusting is usually enough to handle it without tearing.
For the steam, place a shallow metal or cast iron pan on the lowest rack of the oven. Pour in 1 cup of hot water, then put the loaf in the oven on the rack above. The water produces steam during the first part of baking, which helps the crust develop. The loaf stays in the oven until the crust reaches the deep golden brown described above.
Cooling is the last stage and is easy to rush. Bob’s Red Mill (2026) notes that cutting into a loaf while it is still warm can leave the crumb gummy. Wait until the bread is completely cool before slicing.
How long should no-knead dough rise?
No-knead doughs usually rise in two stages: a first rise at room temperature, then a cold rest in the fridge. King Arthur’s no-knead crusty white bread gives the clearest timing. The dough rises about 2 hours at room temperature, then rests at least 2 hours in the fridge, and that cold rest can run up to about 7 days (King Arthur Baking, 2016-01-01). The room-temperature stage gets fermentation started, and the fridge slows it down so the dough can wait until you bake.
Room-temperature rise versus cold rest
The two stages do different jobs. The first rise is short and builds the dough’s structure and volume. The cold rest is where timing and flavor are decided. King Arthur notes that a longer cold rest produces a tangier flavor (King Arthur Baking, 2016-01-01). If you want a milder loaf, keep the fridge stage close to its 2-hour minimum. If you want more tang, extend it toward the upper end of the range.
Long single rises
Some recipes skip the cold stage and rely on one extended rise instead:
- Bob’s Red Mill (2026) gives a rise of about 10 hours, with 30 minutes of rest after shaping.
- Lodge Cast Iron (2026), using Jim Lahey’s method, gives a 12 to 18 hour first rise, followed by a 1 to 2 hour second rise.
These methods are flexible for overnight planning. The sources do not describe the flavor these longer single rises produce, so compare them on timing rather than taste.
Timing comparison
| Approach | Duration in source recipe | Source | Documented effect |
|---|---|---|---|
| Short first rise | About 2 hours at room temperature | King Arthur Baking (2016-01-01) | Starts fermentation before the cold rest |
| Cold rest | At least 2 hours, up to about 7 days | King Arthur Baking (2016-01-01) | Longer rest gives a tangier flavor |
| Long single rise | About 10 hours | Bob’s Red Mill (2026) | Single extended rise, flavor not described |
| Extended first rise | 12 to 18 hours, then 1 to 2 hours | Lodge Cast Iron (2026) | Overnight rise followed by a short second rise |
Do you need a Dutch oven?
A heavy, lidded pot is not strictly required, but it can replace the separate steam pan. Both methods add moisture to the oven, and the difference is where that moisture goes. In an enclosed pot, the lid traps the steam the dough releases, so it surrounds the loaf during the early bake. This keeps the crust soft long enough for the loaf to rise fully before the surface sets.
King Arthur Baking (2016) takes the open-oven route instead and bakes the loaf at 450°F without a lid. The water in a steam pan produces moisture, but the loaf is exposed to the oven air throughout the bake.
Bob’s Red Mill (2026) uses a 4-quart Dutch oven preheated to 450°F. The loaf bakes 30 minutes covered, then 12 minutes uncovered. The covered stage builds steam around the dough, and the uncovered stage lets the crust dry and brown. Lodge Cast Iron (2026) follows the same two-stage logic with a cast iron Dutch oven preheated to 475°F, baking 30 minutes covered and then 15 to 30 minutes uncovered.
| Source | Vessel | Oven temperature | Covered phase | Uncovered phase |
|---|---|---|---|---|
| King Arthur Baking (2016) | Shallow metal or cast iron pan with 1 cup hot water | 450°F | None | Whole bake |
| Bob’s Red Mill (2026) | 4-quart Dutch oven | 450°F (preheated) | 30 minutes | 12 minutes |
| Lodge Cast Iron (2026) | Cast iron Dutch oven | 475°F (preheated) | 30 minutes | 15 to 30 minutes |
If your oven has room for only one vessel, a Dutch oven covers both the steam and the crust-drying stages. If you do not own one, King Arthur’s steam pan method works without a lid. Check King Arthur’s published method for the exact pot size.
Why is my no-knead dough too sticky or flat?
Two common causes of flat no-knead loaves are dough that is too wet and dough that has over-fermented. The first is dough that is too wet to hold its shape and spreads across the tray. The second is dough that has over-fermented and lost its structure, so it collapses in the oven. A third worry, the dough sinking in the fridge, is usually not a fault. King Arthur Baking (2016) states that the dough rises and then falls in the fridge, and that this is expected.
Sticky dough that spreads on the tray
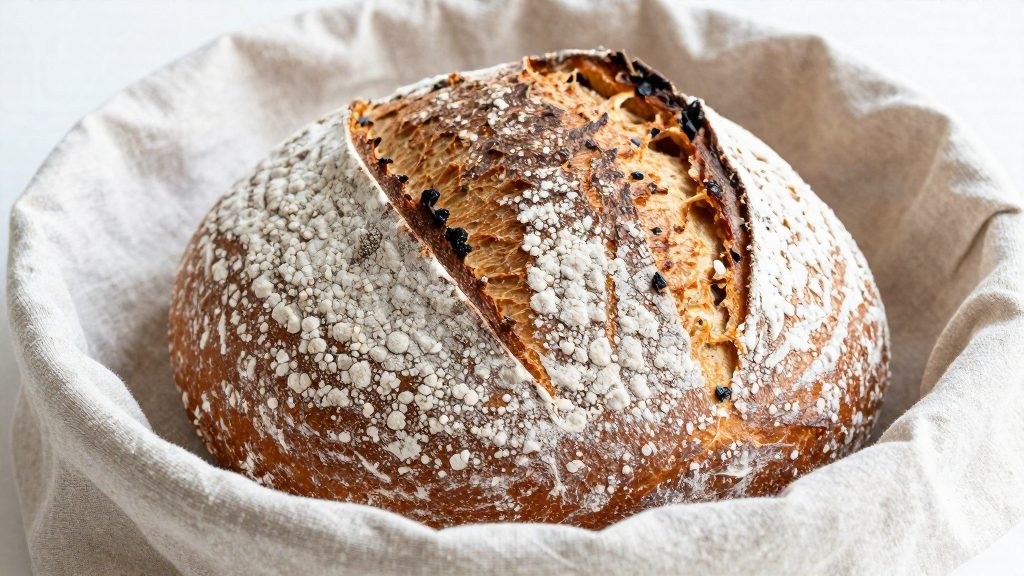
Sticky dough clings to your fingers and the bowl, and offers little resistance when you shape it. Without enough structure to hold its form, it flattens under its own weight. Shape it into a tight ball with the seam underneath, then place it on a floured surface or in a floured, cloth-lined bowl. Lodge Cast Iron (2026) bakes its version in a cast iron Dutch oven preheated to 475°F, so the loaf is supported by the pot walls rather than spreading on a tray.
Over-proofed dough that collapses
Dough left too long shows large, irregular bubbles, a slack and sagging surface, and a strong sour or alcoholic smell. Press it gently with a finger. If it sinks and does not spring back, its gluten network has weakened and it will spread rather than rise in the oven. Water temperature changes how fast fermentation runs, so a dough that collapses may have been kept somewhere warmer than intended.
| Visual cue | Likely cause |
|---|---|
| Dough spreads flat on the tray | Too wet to hold its shape, or shaped too loosely |
| Large bubbles and sagging surface | Over-fermented, structure weakened |
| Dough sinks in the fridge | Normal behavior, not a failure |
Easy variations once you have the basics
Once the basic dough works, change one ingredient at a time and compare each loaf with your previous bake. A single change makes it clear what caused each difference in crust, crumb, or texture. Three adjustments cover most home experiments: switching to bread flour, replacing part of the all-purpose flour with whole wheat, and folding seeds or herbs into the dough.
Switching to bread flour
King Arthur’s no-knead recipe gives a specific rule for bread flour: add about 2 teaspoons of water per cup of flour. According to King Arthur Baking (2016), the crust becomes thicker and the crumb more closed. Bob’s Red Mill (2026) and Lodge Cast Iron (2026) both build their no-knead recipes on bread flour, so it is a common starting point for this method.
Replacing part of the all-purpose flour with whole wheat
Whole wheat works best as a partial swap. Replace a small share of the all-purpose flour, keep the rest of the method unchanged, and note the quantity you used. Compare the dough’s feel during shaping and the finished crumb with your base loaf before increasing the share, and adjust the amount based on your own results.
Folding in seeds or herbs after the first rise
Add seeds or herbs once the dough has completed its first rise, not at the mixing stage. Scatter them over the dough, fold it gently a few times so they spread through the mass, then shape the loaf as usual. Waiting until after the first rise lets you check the dough’s state before deciding how much to add, and it keeps the flour and water balance of your base recipe unchanged.
Frequently asked questions
Do I need a Dutch oven to bake no-knead bread at home?
No. King Arthur Baking (2016) bakes its version in an open oven at 450°F, with a shallow metal or cast iron pan holding 1 cup of hot water on the lowest rack to create steam. Avoid glass, Pyrex or ceramic for that pan. Dutch oven recipes also exist, such as Bob’s Red Mill at 450°F and Lodge Cast Iron at 475°F.
My dough looks shaggy and sticky, and it sank in the fridge. Did I do something wrong?
Probably not. A no-knead dough is meant to look loose and uneven after mixing, and King Arthur Baking (2016) says it will rise and then fall during the cold rest, which is expected. If the dough seems too stiff, check that you weighed the flour rather than scooping it, since bread flour absorbs more water and may need about 2 teaspoons extra per cup.
How long can I keep the dough in the fridge, and why does it taste sour?
According to King Arthur Baking (2016), the dough can rest in the fridge for up to about 7 days, with a minimum of 2 hours. The longer the cold rest, the tangier the flavor becomes, because the yeast and bacteria keep fermenting slowly at low temperature. Let the bread cool completely before slicing, as Bob’s Red Mill (2026) notes, or the crumb can turn gummy.