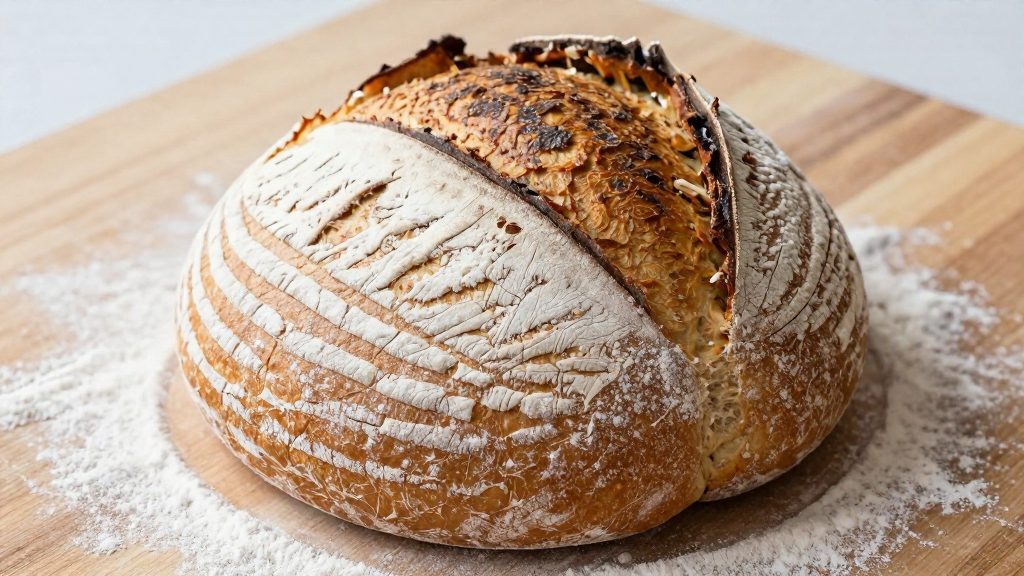
A boule is a round, free-standing loaf, and shaping it is mainly about building surface tension: a taut outer skin that holds the dough together. According to Weekend Bakery, the aim of shaping is surface tension, which supports oven spring and a clean ear when the loaf is scored.
What is a boule, and why shape it?
The round loaf shape
A boule is shaped into a smooth ball. Its shape comes largely from the tension in the dough’s outer layer.
Why surface tension matters
Surface tension is the force that keeps the outside of the dough taut. Two results depend on it:
- Oven spring: the rise the loaf makes in the first minutes of baking. A taut skin helps the loaf expand upward instead of outward.
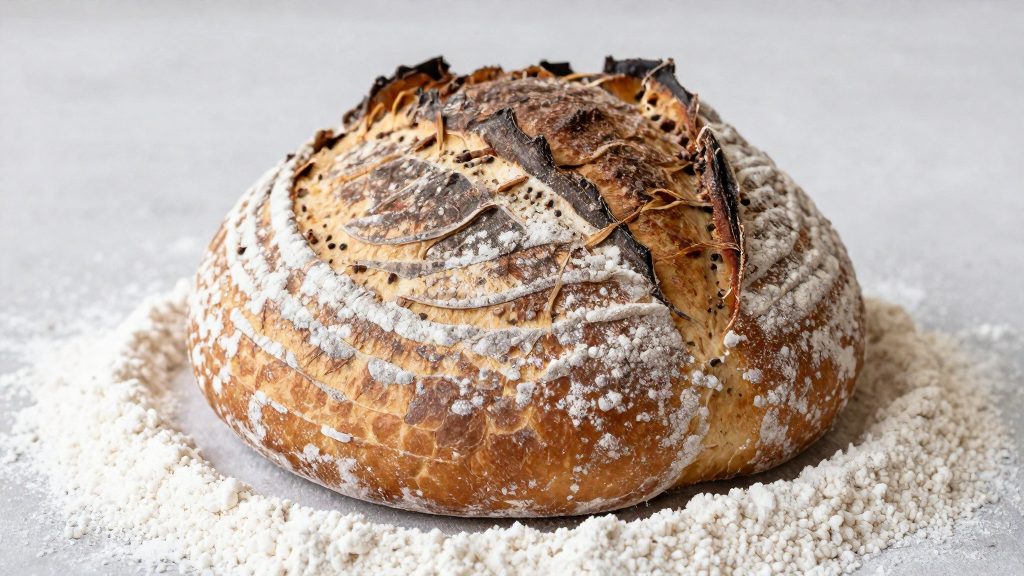
- Ear: the raised flap that forms along a score. Weekend Bakery links a good ear to the same surface tension that supports oven spring.
| Tension level | Result described in the sources |
|---|---|
| Correct, built by gentle rolling | Taut skin that supports oven spring and a good ear (Weekend Bakery) |
Keeping the gas inside
Fermentation produces gas inside the dough. A taut outer skin keeps that gas in the loaf during the second rise and the first minutes of baking, which is why the shaping step affects the final crumb and height.
Prepare the dough before shaping
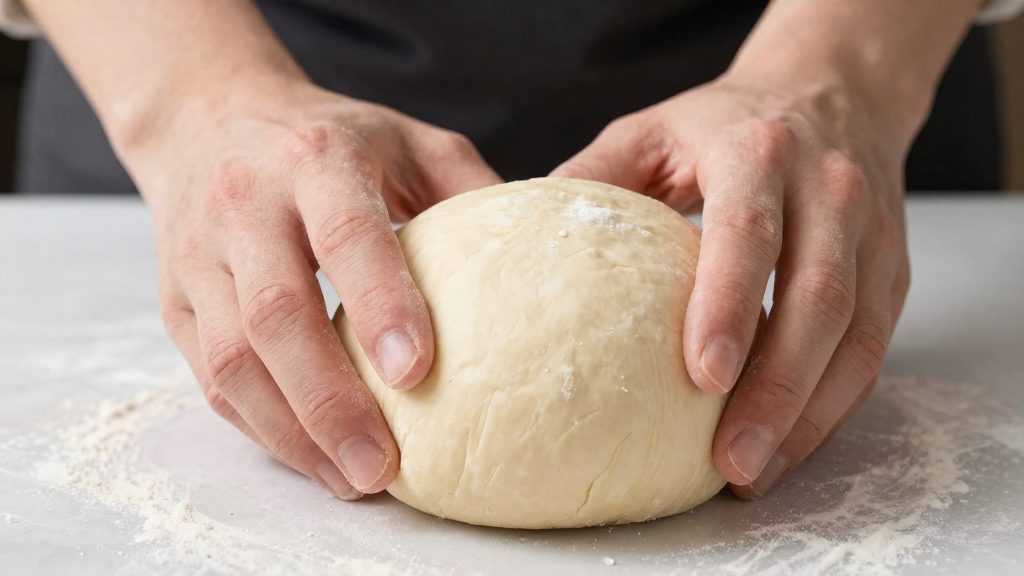
Shaping goes more smoothly when the dough is in the right condition before it leaves the bowl. The Clever Carrot (2025-10-28) describes its envelope method for doughs at 65 to 75 percent hydration, so that range is the one to check first. Hydration is the ratio of water to flour, and it determines how much the dough will stick and how easily it holds together on the bench. Know where your dough falls in this range before you turn it out, because it changes how you handle it.
Follow the readiness cues in your own recipe before you shape, and use the bench check below only as a rough guide to how the dough handles.
Before turning the dough out, prepare the work surface. Tension depends on the dough, but it also depends on the bench. If the surface is wet or sticky, the dough will drag instead of tightening. Wipe the bench clean, dry it, then dust it lightly with flour.
Finally, check that the dough has the strength to hold a shape. As a rough guide, gently lift one edge with a wet or floured hand. If the dough tears immediately or pools on the bench, it may need more time, so check your recipe’s readiness cues.
How do you pre-shape and rest the dough?
Pre-shaping gathers the dough into a loose, even round before the final shape. It is the stage where most of the surface tension of a sourdough boule is built. The method below follows The Clever Carrot’s envelope approach (2025-10-28) and is done on a lightly floured work surface.
| Step | Movement | What it does |
|---|---|---|
| Envelope fold | Stretch and fold each of the four sides to the center | Gathers the dough and builds an even outer skin |
| Bench rest | Flip the dough with a bench knife and rest it 5 to 10 minutes | Lets the gluten relax so the dough stops resisting |
| Cupping | Cup the dough with floured hands and move it in a circle | Tightens the shape into a round |
Folding the envelope
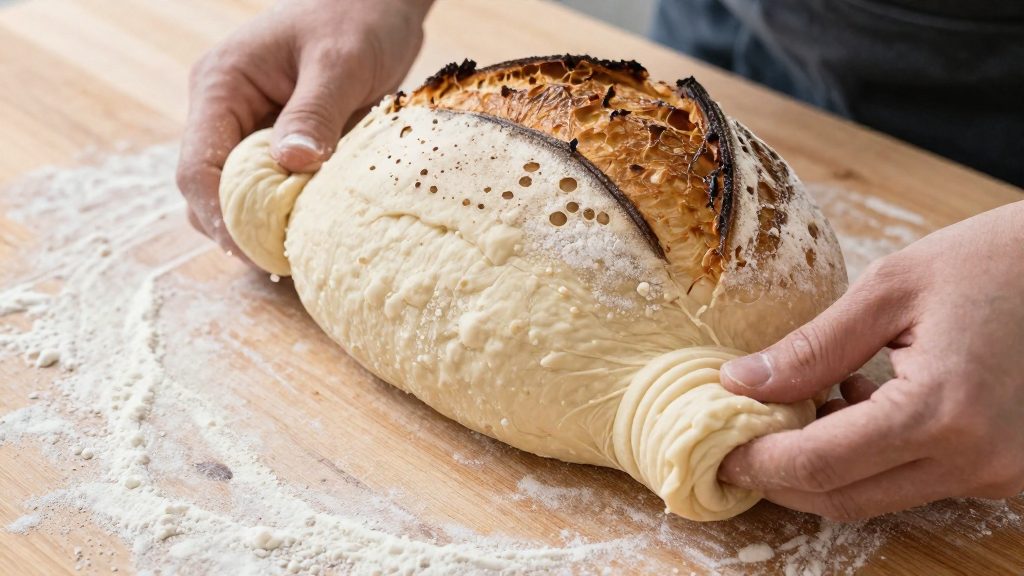
Turn the dough out and stretch one side outward, then fold it toward the center. Repeat with the opposite side. Then fold the bottom and top edges to the center in the same way. Pull each flap gently so the outer skin stays taut over the top of the piece. The envelope fold should gather the dough without tearing it.
Flipping and resting
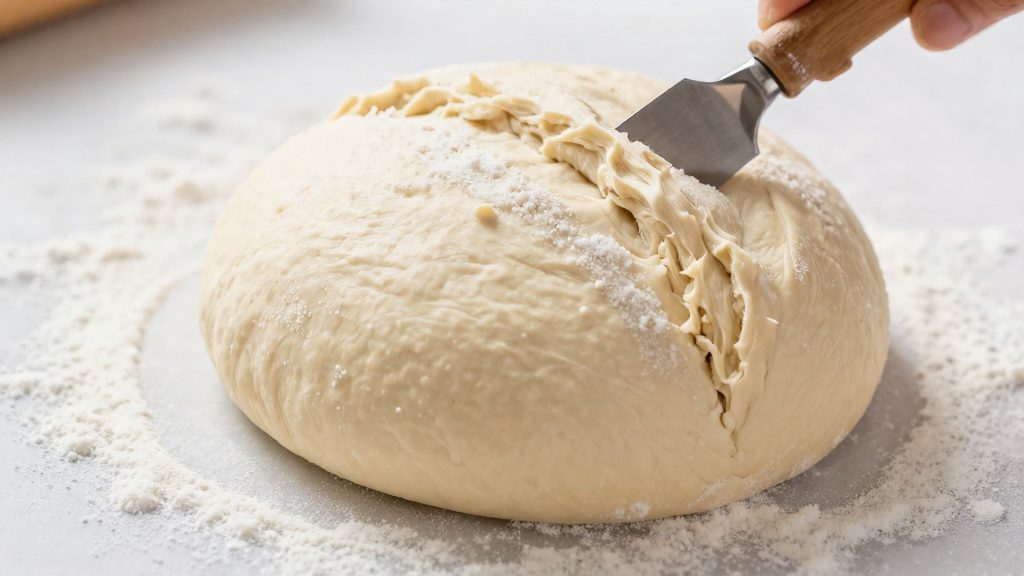
Once all four sides are folded in, slide a bench knife under the dough and flip it over. Leave it to rest for 5 to 10 minutes. During this bench rest, the gluten relaxes, and the dough becomes easier to shape without pulling back. If the room is dry, you can cover the dough during the short rest.
Cupping and circling
After resting, cup the dough with floured hands and move it in a small circle on the bench. The palms drag the surface around the base, which tightens the round.
Shape the boule step by step
The final rolling sequence turns a relaxed mound into a boule with a taut outer skin. It happens on the bench, and the movement is a controlled drag rather than a push.
Work through the sequence like this:
- Set the dough in front of you with the smooth side facing up. Cup your hands around it, fingers on the sides.
- Rest the pinkies on the bench, with the outer edge of each little finger in contact with the work surface. Your fingertips guide the dough from the sides.
- Roll the dough toward you in a short, controlled motion. The rolling action pulls the outer skin tight around the mass as it turns.
- Rotate the dough a quarter turn and repeat, keeping the same light pressure around the whole loaf so the tension stays even.
- Stop when the skin feels taut and the dough holds its rounded shape without sagging.
What matters is the overall tension of the skin, not a perfectly unbroken surface.
How much flour should you use?
When shaping a sourdough boule, the aim is to stop the dough from sticking without coating it in flour. A light dusting is enough: a thin layer that lets the dough grip the bench while you stretch and fold it. This matters most when you build tension, because the dough has to hold its shape under your hands.
Too much flour works against you. According to The Clever Carrot (2025), over-flouring the surface makes the dough slide around. Instead of tightening into a round, the ball drifts under your palms, so the surface tension you are trying to create never forms evenly.
The two approaches compare as follows:
| Approach | What happens on the bench | Effect on the shaped boule |
|---|---|---|
| Light dusting | The dough stays put while you work it | Tension can build evenly |
| Heavy coating | The dough slides under your hands | Tension is hard to build |
Flour is only half of the balance. Force is the other half: shaping means tightening the outer skin without applying so much force that it deflates the air bubbles the oven spring depends on. Treat flour as a way to control the dough, not as a cushion between it and the bench.
How do you build surface tension without tearing?
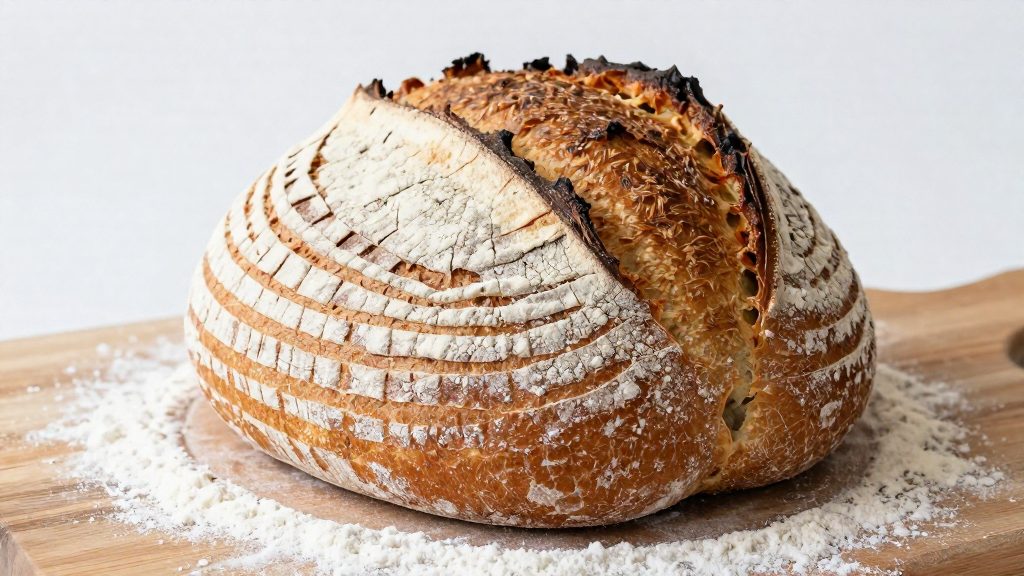
Even surface tension comes from folding the dough into a consistent package before it is shaped. Folding every side the same amount spreads the tension evenly around the loaf, so no single area carries the strain.
The 5 to 10 minute bench rest relaxes the gluten, so the dough resists less when you tighten it.
Diagnosing a weak loaf
Shaping problems show up in the finished bread. The Clever Carrot (2025-10-28) links a lopsided loaf and weak oven spring to too little tension. If your loaves spread unevenly or rise poorly in the oven, check whether the shaping step built enough tension on every side, rather than changing the bake alone.
| Symptom | Likely cause (per The Clever Carrot, 2025-10-28) |
|---|---|
| Lopsided loaf | Too little tension |
| Weak oven spring | Too little tension |
Recovering slack, sticky dough
If the dough lacks surface tension and feels slack, the work surface may be part of the problem. The Clever Carrot (2025-10-28) recommends wiping the work area with water, drying it, and starting again. A clean, dry surface gives the dough enough grip to hold its shape.
For wet, sticky dough, a bench knife helps you lift and move it without dragging it apart. The Clever Carrot (2025-10-28) notes the knife is useful for this, and Weekend Bakery uses it in the same way when transferring dough. Slide the knife under the dough, lift, and reposition it rather than pulling at the surface.
Common shaping mistakes
Most shaping damage comes from two errors: applying too much force and pressing the dough flat. Each error affects the finished loaf in a different way.
Excess force deflates the air bubbles
Gripping or squeezing the dough hard during folding and cupping pushes out the gas that fermentation has built up. According to The Clever Carrot (2025), too much force deflates the air bubbles. The crumb then has less gas to expand in the oven, which can make the interior tighter.
Light handling is enough. Too much force deflates the air bubbles, and a firm grip can collapse the dough’s structure. Deflating a few small surface bubbles during shaping is fine, according to Weekend Bakery.
Pressing the dough flat instead of rolling it
Pressing straight down on the bench spreads the dough outward instead of drawing its outer surface tight. This leaves the boule wide and low, with a loose skin that gives little support during the bake.
Rolling keeps the dough in one piece. Each pass turns the ball slightly, so the surface wraps tighter around the middle, which is the tension the shape needs to hold its height. If the dough feels loose after rolling, the rolling movement, not a heavier press, is what corrects it.
Proofing and transferring to the pot
During the second rise, the shaped dough sits in a lined proofing basket, or banneton, while it develops its final structure. According to The Clever Carrot (2025), the loaf goes seam side up in a lightly floured, lined bowl or proofing basket. Keep the lining in place so the loaf holds its shape as it rises, and dust the lining only lightly so the dough releases cleanly later.
Judge the rise by how the dough looks and feels in the basket rather than by a set number of minutes.
The inversion is the moment the loaf moves from basket to pot. According to Weekend Bakery, you turn the banneton upside down over the Dutch oven. Because the seam faced up in the basket, the loaf drops into the pot seam side down, with the smooth surface on top.
If the dough clings to the lining, do not pull the loaf out. Instead, gently rock the basket over the pot until the dough releases. Weekend Bakery describes this rocking motion as the fix for a loaf that sticks.
| Stage | What to do |
|---|---|
| Second rise | Place the shaped dough seam side up in a lined, lightly floured basket |
| Inversion | Turn the banneton upside down over the Dutch oven |
| Release | If the dough sticks, gently rock the basket until it drops free |
Frequently asked questions
How can I tell if my boule has enough tension?
Build tension by rolling the dough toward you with your pinkies on the bench rather than pressing down, and aim for a smooth, taut outer skin. If the loaf comes out lopsided with weak oven spring, the tension was probably too low, while a few small surface bubbles that deflate are not a problem. Pushing too hard can collapse the air bubbles inside the dough.
What should I do if the dough keeps sticking to the bench?
Dust the surface only lightly, because too much flour makes the dough slide around instead of holding its shape. A bench knife helps lift and move wet, sticky dough without tearing it. If you still cannot build enough tension, wipe the work area with water, dry it, and start again.
How do I transfer a shaped boule into a Dutch oven?
According to Weekend Bakery, turn the banneton upside down over the pot so the dough drops in. If the dough sticks to the basket, gently rock it to release the loaf.