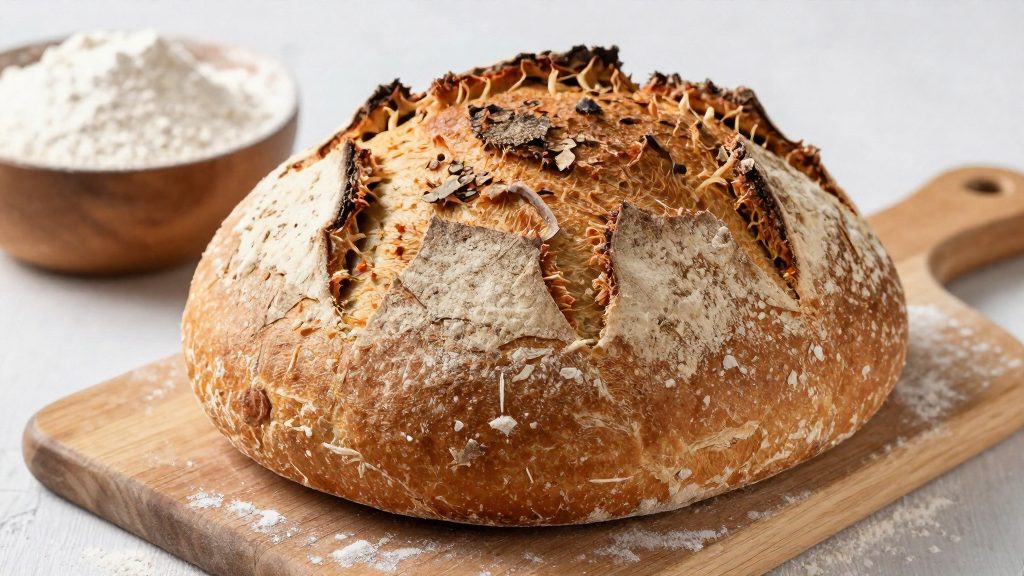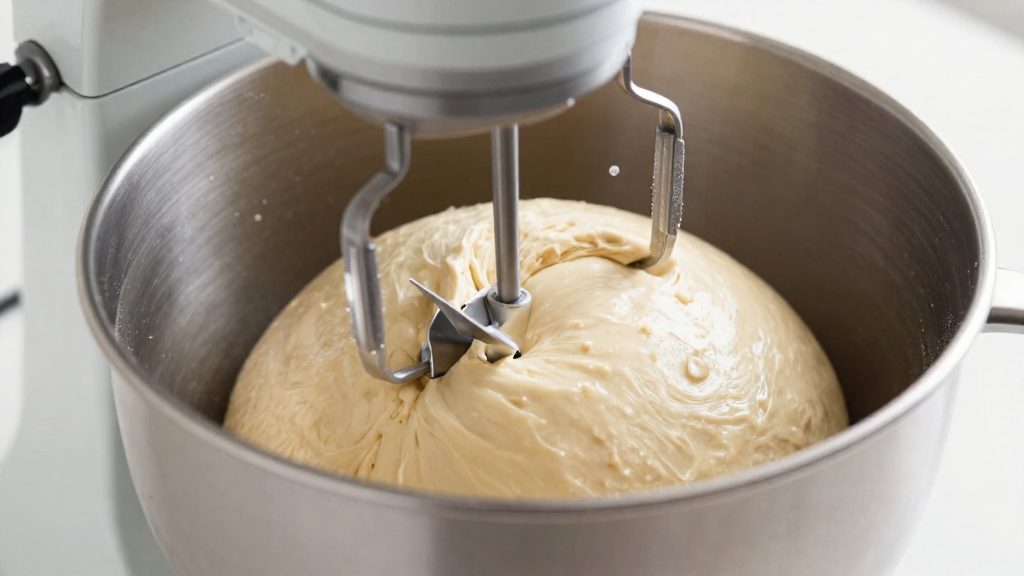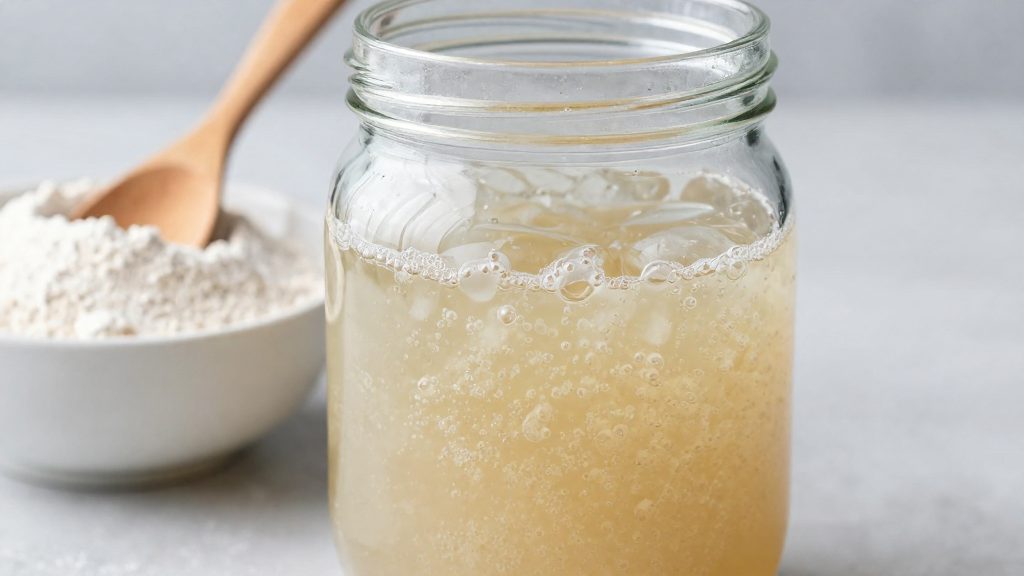
A sourdough starter needs three items before you mix the first batch: a non-reactive container of about ½ to 1 quart, a digital kitchen scale, and tap water that does not smell strongly of chemicals. According to King Arthur Baking (2026), the starting mix is 50g of flour and 50g of cool water. Checking these items first keeps the setup simple and avoids common problems in the first days.
What you need to start a sourdough starter
A non-reactive container
Use a non-reactive container of about ½ to 1 quart (King Arthur Baking, 2026). The source specifies that the vessel should be non-reactive but does not name a material, so check the container’s labelling before use. The starter needs enough room to rise, so a container within this size range is the practical choice.
A digital kitchen scale
A digital kitchen scale is the main measuring tool. The starting quantities are given in grams, 50g of flour and 50g of water, and King Arthur Baking (2026) states that weighing the ingredients gives the most consistent results. Set the container on the scale, tare it, then add each ingredient in turn so you can record the exact weights.
Tap water
Tap water is suitable unless it smells strongly of chemicals (King Arthur Baking, 2026). Run the tap for a few seconds, then smell the water before using it. If the odour is strong, do not use it for the starter.
Starting checklist
| Item | Requirement |
|---|---|
| Container | About ½ to 1 quart, non-reactive |
| Scale | Digital, weighs in grams |
| Starting flour | 50g, weighed |
| Water | 50g, cool, tap water without a strong chemical smell |
How to make sourdough starter day by day
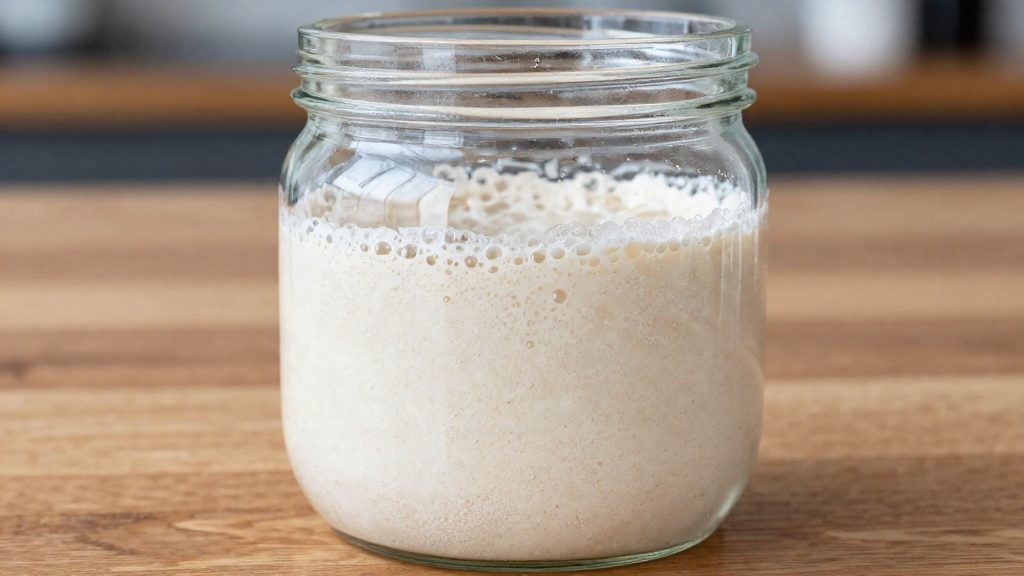
A sourdough starter is built through a short series of weighed feedings. You mix equal weights of flour and water on day one, keep a fixed portion and refresh it on day two, then feed it twice a day from day three. King Arthur Baking (2026) describes this schedule in its 5-day starter recipe, using 50 g of flour and 50 g of water at each step.
Day one: mixing
Combine 50 g of flour with 50 g of cool water. Stir until no dry flour remains, then cover the container loosely so gas can escape. Leave it to rest for 24 hours. King Arthur Baking (2026) recommends whole wheat or pumpernickel flour for this first mix.
Day two: keep, discard, feed
Each day from here, you remove most of the mixture before feeding:
- Keep 50 g of the starter in the container.
- Discard the rest.
- Add 50 g of water and 50 g of all-purpose flour, then stir well.
Day three onward: twice-daily feeding
From day three, repeat the same keep-and-discard routine, but feed twice daily, about 12 hours apart. Mark the times you feed so the interval stays consistent. Keeping only 50 g at each feeding also keeps the amount of discard small.
| Stage | Action | Flour | Water |
|---|---|---|---|
| Day 1 | Mix and cover loosely | 50 g whole wheat or pumpernickel | 50 g cool water |
| Day 2 | Keep 50 g, discard the rest, feed | 50 g all-purpose | 50 g |
| Day 3 onward | Keep 50 g, discard the rest, feed twice daily | 50 g all-purpose | 50 g, about 12 hours apart |
How long does a sourdough starter take?
A sourdough starter typically takes about five days to reach a point where it can be checked for readiness, and it can take up to seven days if it needs extra feeding. Over that period, the mixture of flour and water is fed on a regular schedule so that wild yeast and bacteria can establish themselves. According to King Arthur Baking (2026), the process begins with a single mix that rests at about 70°F (21°C) for 24 hours, then moves into twice-daily feeding. Once the starter is established, the schedule changes to a single weekly feed.
Timeline from first mix to readiness
| Stage | Timing | What happens |
|---|---|---|
| Initial mix | Day 1 | Flour and cool water are combined |
| Early feeding | Day 2 | Part of the mixture is kept, the rest is discarded, and fresh flour and water are added |
| Twice-daily feeding | Days 3 to 5 | The starter is fed about every 12 hours |
| Extended feeding | Days 6 and 7 | If the starter is not yet ready by day 5, feeding continues every 12 hours |
| Maintenance | After establishment | The starter is refrigerated and fed once a week |
Below 68°F, King Arthur Baking (2026) recommends moving the container somewhere warmer, such as on top of the refrigerator or in an oven that is switched off with the light on.
Weekly maintenance feed
Once the starter is established, it can be kept in the refrigerator and fed 113 grams of flour and 113 grams of water once a week. Weigh both the flour and the water so each weekly feed stays consistent.
How do you know your starter is ready?
A starter is ready to bake with when three signs appear together: it at least doubles in about 6 to 8 hours after a feeding, it shows lots of bubbles, and it has a pleasantly tangy smell. King Arthur Baking (2026) lists these three signs together as the mark of a ready starter. A rise without bubbles, or a sour smell without a rise, suggests the starter may not be mature yet.
Checking the rise
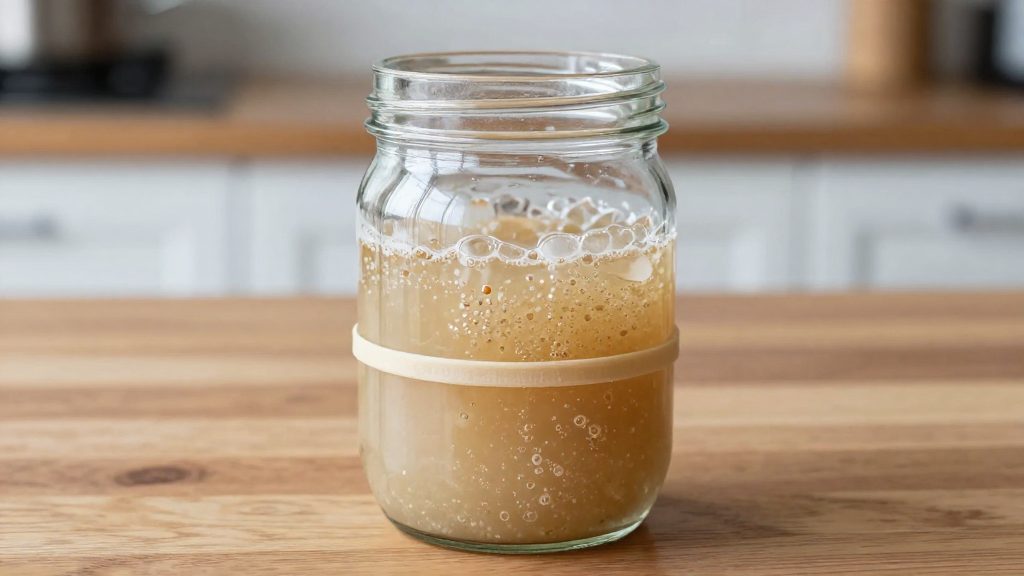
Before each feeding, note the starter’s level in a clear container. A straight-sided jar makes this easier, and a rubber band or strip of tape placed at the surface marks the starting height. Check the level again after about 6 to 8 hours. A starter is ready when it has at least doubled against that mark.
Reading the bubbles
Look at the starter from the side, not just from above. A ready starter shows many bubbles across its surface and throughout its body, so the mixture looks light and aerated rather than dense and flat. Bubbles spread through the mass are the sign to look for, as the mixture should look light and aerated.
Judging the smell
Give the starter a gentle sniff. A ready starter smells pleasantly tangy. Because smell is subjective, compare it with previous days. A starter that has become more tangy and less flat over several feedings is developing as expected.
Best temperature and flour for a starter
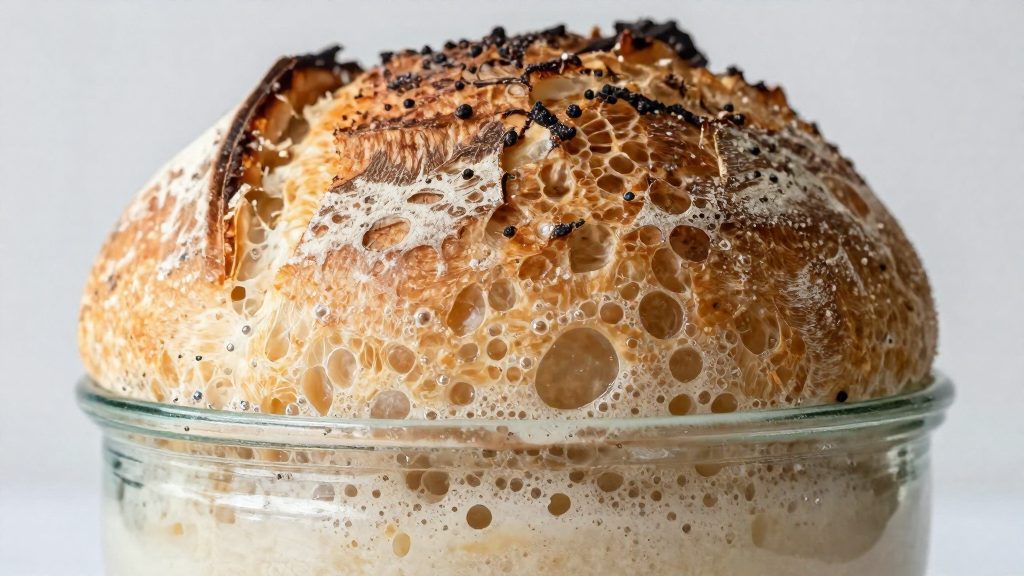
Temperature and flour choice set how quickly wild yeast and bacteria become active in the first days. According to King Arthur Baking (2026), the ideal temperature range is 70°F to 78°F, and a starter kept in this band has the most favourable conditions for early fermentation. The opening mix also uses whole grain flour, because wild yeast is more likely to be found in whole grains than in refined flour.
Temperature bands
| Condition | Effect on the starter | What to do |
|---|---|---|
| 70°F to 78°F | Ideal range for fermentation | Keep the jar here |
| Below 68°F | Fermentation slows | Move the jar to a warmer spot |
Keeping the starter warm enough
The first rest is set at about 70°F. According to King Arthur Baking (2026), slow growth is usually caused by cold temperatures or by a starter that is not yet ready, so a cool room is the first thing to check when activity stalls.
Moving a cool starter
Neither option is a fixed setting, so check the jar’s activity rather than relying on the spot alone.
Flour at the start
The opening mix uses whole wheat or pumpernickel flour. From day 2, the recipe switches to all-purpose flour. The early flour choice is therefore a deliberate step aimed at capturing wild yeast, and the switch marks the point where the starter is fed a different flour.
What to do with sourdough discard?
Discard does not have to be thrown away. According to King Arthur Baking (2026), it can go into recipes such as pizza crust, pretzels, waffles and cake. Because discard is fermented flour and water, it adds a mild tang and some of the starter’s flavour to a dough or batter, so it works as a partial replacement for fresh flour and liquid rather than as a separate ingredient.
Recipes that use discard
- Pizza crust: discard can be mixed into the dough as part of the flour and water.
- Pretzels, waffles and cake: these are the other uses named in the same source.
- Pancakes, crackers and flatbread: The same principle applies, so treat discard as part of the liquid and flour in the batter and adjust as described below.
Adjusting hydration when adding discard
Discard contributes both flour and water to a recipe, so the total hydration of the dough changes when it is added. The starter’s consistency determines how much liquid it brings. Start by mixing in the discard, then judge the dough by feel:
- If the dough feels stiffer than the recipe describes, add water a little at a time.
- If it feels slack or sticky, add flour gradually.
Small, incremental changes are the safest approach.
Refrigerating discard for later baking
Refrigeration slows fermentation, which is why King Arthur Baking (2026) recommends refrigerating a starter once it is established. Discard can be stored the same way: keep it covered in the refrigerator and collect it over several days until you are ready to bake. Before using stored discard, check how long it has been kept. Let cold discard come closer to room temperature before mixing, which makes it easier to combine evenly with the other ingredients.
Common problems and when to start over
Most starter problems fall into two groups: signs that mean the culture has been contaminated and must be thrown out, and signs that are normal or point to a slow starter that needs more time. According to King Arthur Baking (2026), mold, orange or pink streaks, and a putrid smell are reasons to discard and start over. Other changes, such as a layer of dark liquid on top, are not.
Check the starter before each feeding. Look at its surface and colour, and smell it. Mold is the clearest reason to restart, since it means the mixture has been contaminated. Orange or pink streaks and a putrid smell point the same way. Do not try to rescue a starter showing any of these signs by removing the affected part and carrying on.
The dark liquid that often gathers on top of a starter is different. King Arthur Baking (2026) describes it as normal. Stir it back in, then feed the starter as usual.
Slow growth is a separate problem. The source attributes it to cold temperatures or to a starter that is not yet ready. It is not listed as a fault that calls for discarding. Instead, check the temperature where the starter is kept and how long it has been fed.
The source also describes an acetone-like smell as a warning sign. It does not say whether this always requires a restart, so watch the starter over the next few feedings and compare it with the other signs above.
| Sign | What it indicates | Action |
|---|---|---|
| Mold | Contamination | Discard and start over |
| Orange or pink streaks | Contamination | Discard and start over |
| Putrid smell | Contamination | Discard and start over |
| Dark liquid on top | Normal | Stir it in and feed |
| Acetone-like smell | Warning sign | Watch closely at next feedings |
| Slow growth | Cold or not yet ready | Check temperature and readiness |
Frequently asked questions
How do I know when my starter is ready?
A ready starter at least doubles in about 6 to 8 hours, is full of bubbles, and smells pleasantly tangy, according to King Arthur Baking (2026). If it still isn’t ready by day 5, keep feeding it every 12 hours on days 6 and 7.
Why is my starter not rising?
Temperature is the most common cause. King Arthur Baking (2026) gives an ideal temperature range of 70°F to 78°F, and below 68°F you should move the jar somewhere warmer, such as on top of the refrigerator. Slow growth can also mean the starter simply needs more days to mature.
Is it safe to keep going if the starter smells odd or looks discoloured?
Some signs mean you should discard the starter and start again. Mold, orange or pink streaks, or a putrid smell are reasons to throw it out, while a dark liquid on top is normal and can be stirred back in. An acetone-like smell is also a warning sign, per King Arthur Baking (2026).